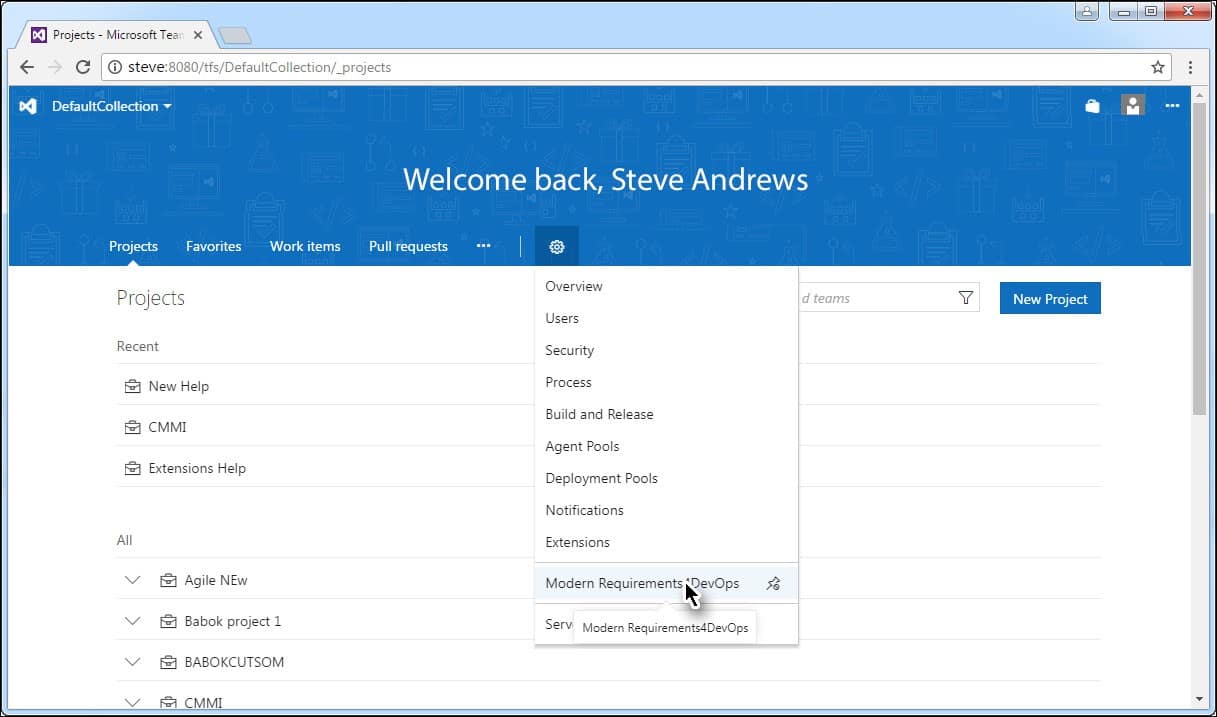
- To access the Admin panel, launch the embedded version of the application and select the Modern Requirements4DevOps option under the Settings tab.

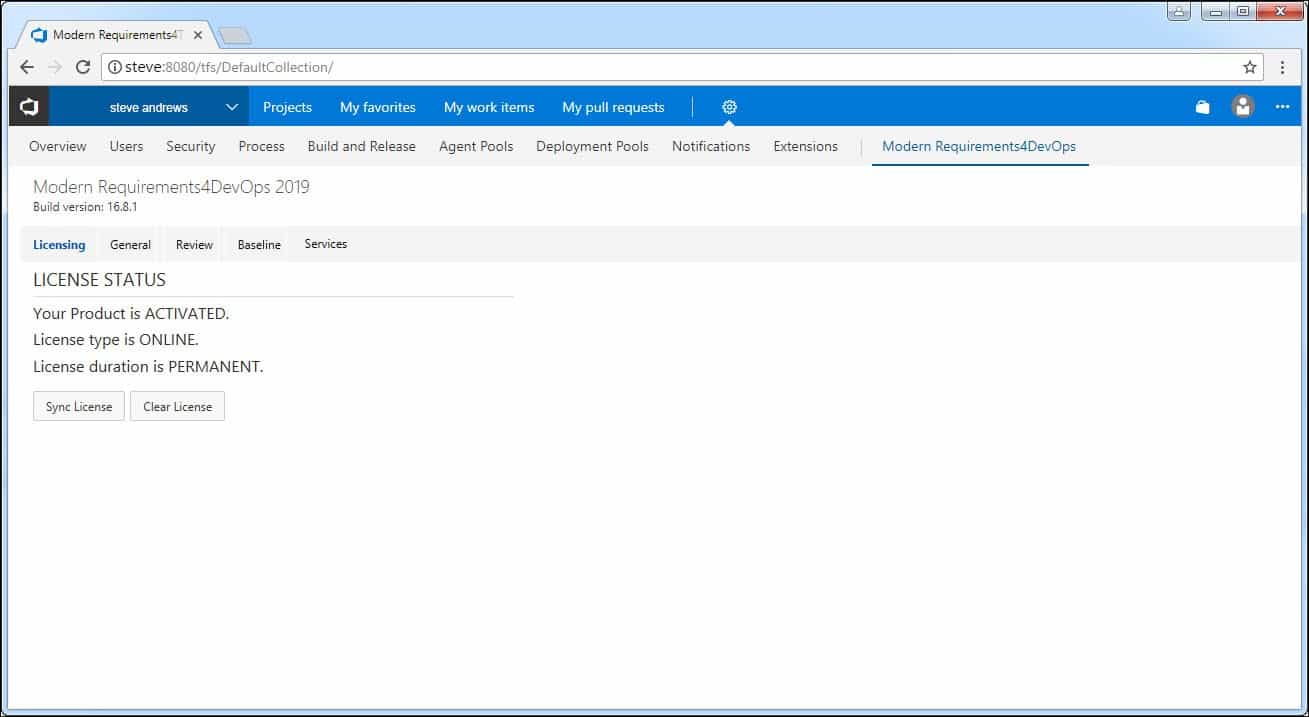
- The Admin panel is displayed as shown below:

The Admin panel has five sections as shown in the image below. Each of these sections has relevant commands to configure or tweak corresponding modules (except the General section whose commands apply to the whole app).
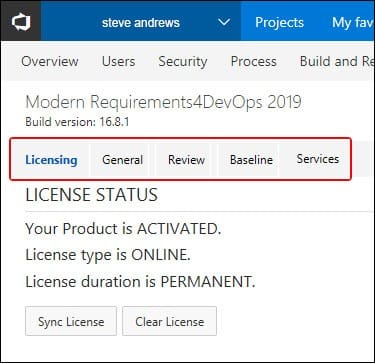
The 5 Sections of the Admin Panel
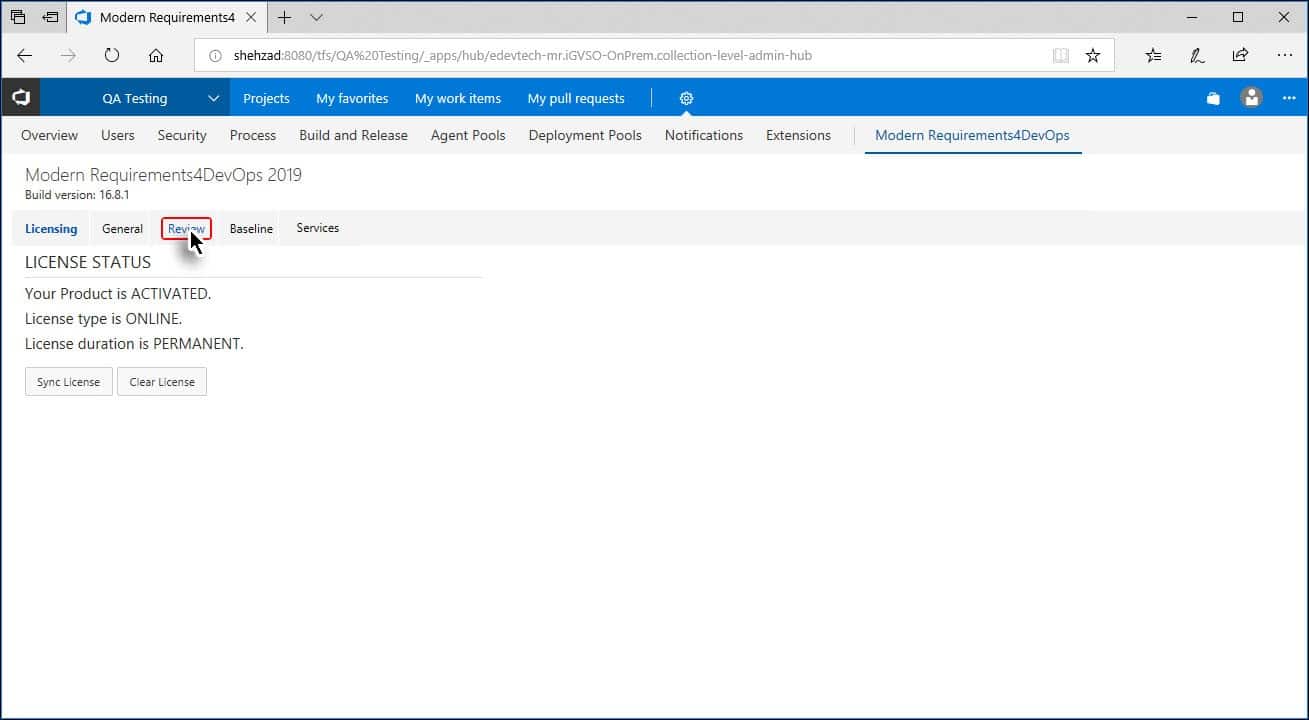
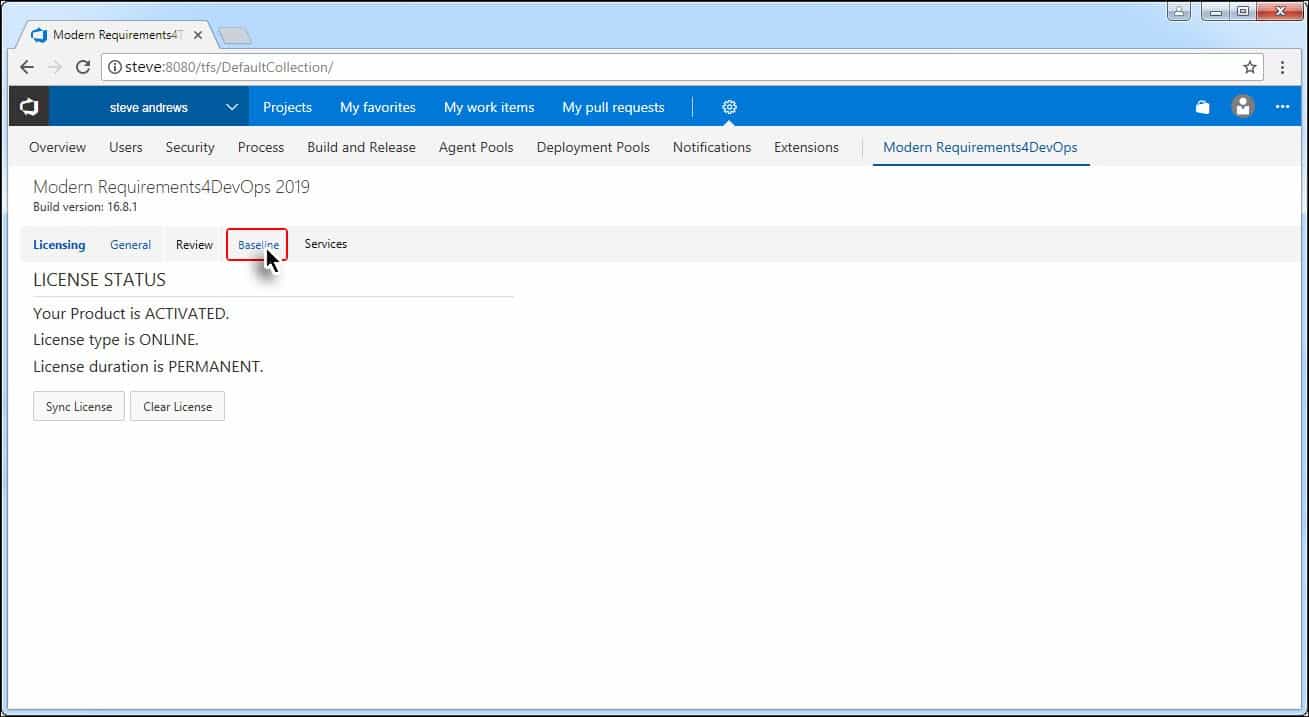
- The Licensing section is used to check the license status, or activate the product using a valid key (in case the product hasn’t been activated yet).
- The General section is used to configure the repository name for GIT projects.
- The Review tab is used for tweaking the functionality of the Review module.
- The Baseline tab is used for tweaking options in the Baseline module.
- The Services section is used to configure options related to Services (formerly MR Agent).
Note: This option is not available for Embedded Single Sign-On version of MR4DevOps.
The repository is named after the project’s name by default in any project.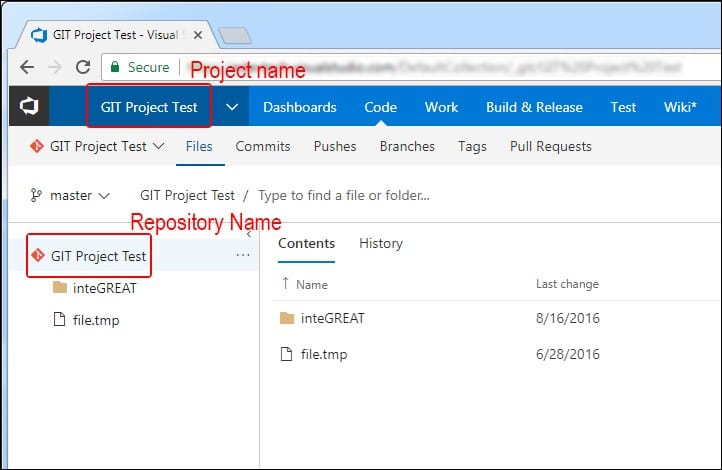
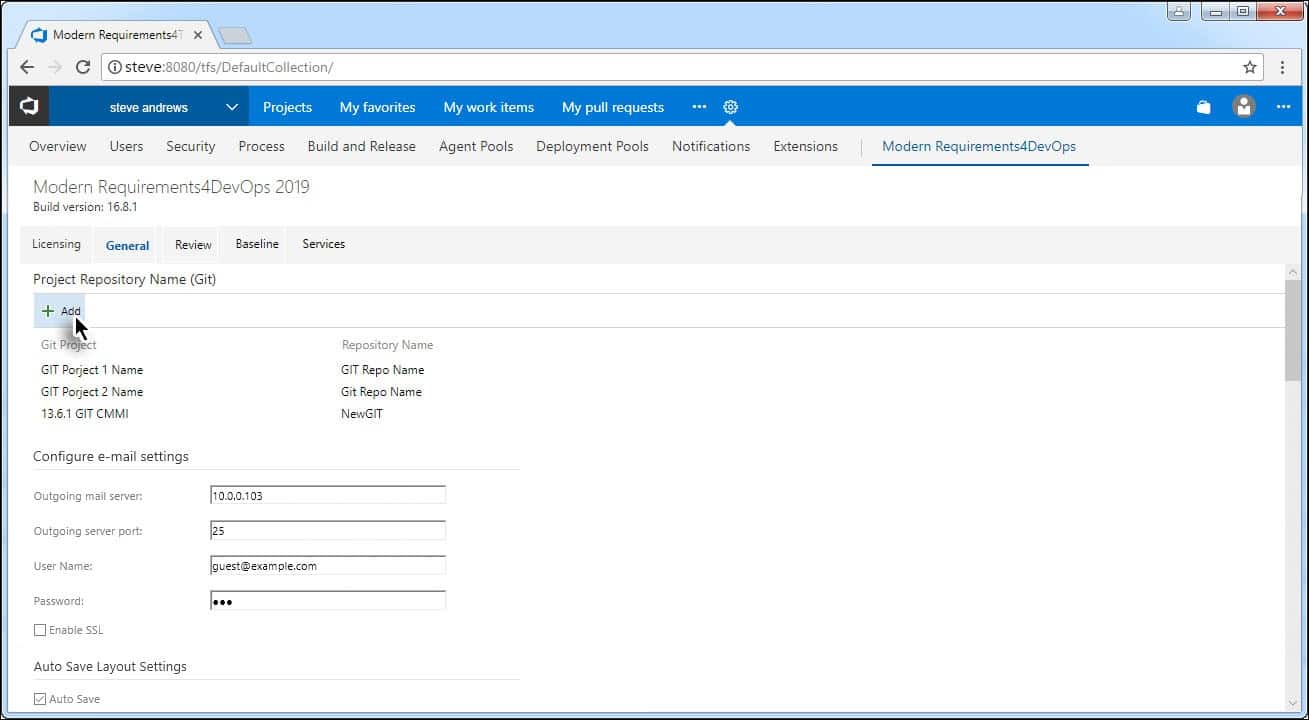
However, for GIT projects only, users can now configure the repository name of their choice by following these steps:
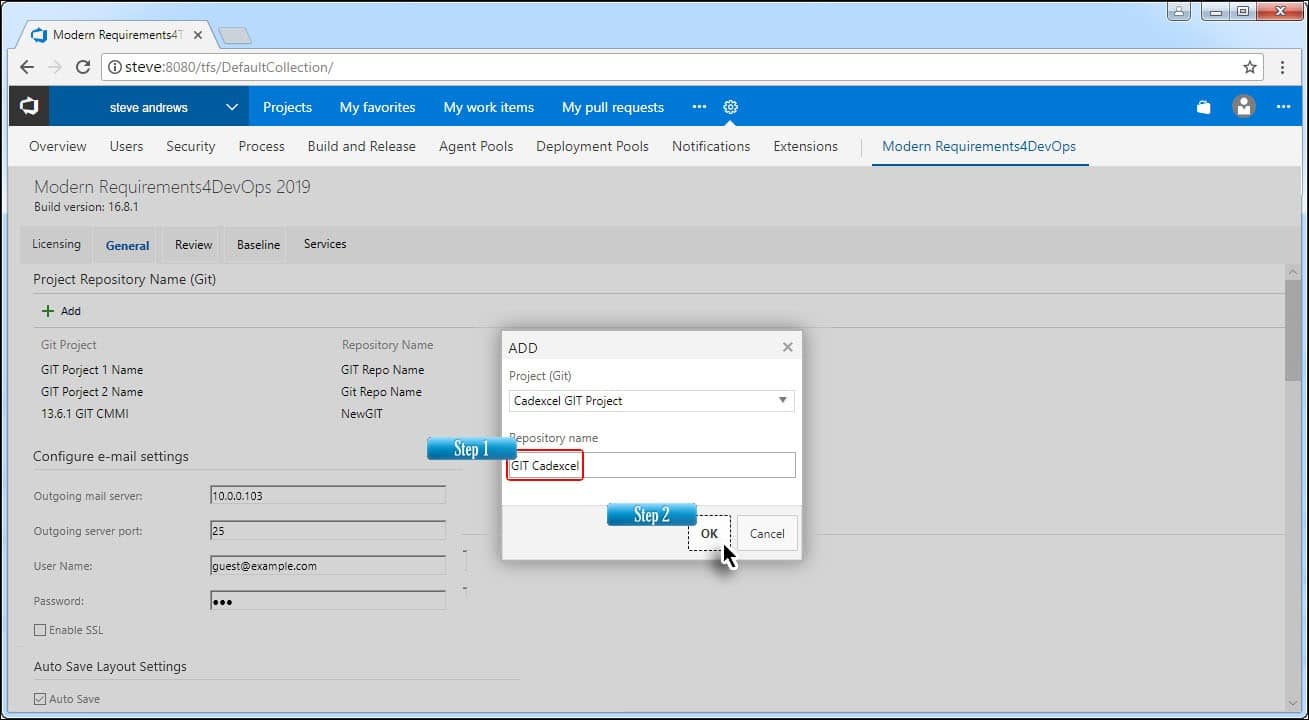
- Access the Admin panel and select the General option.
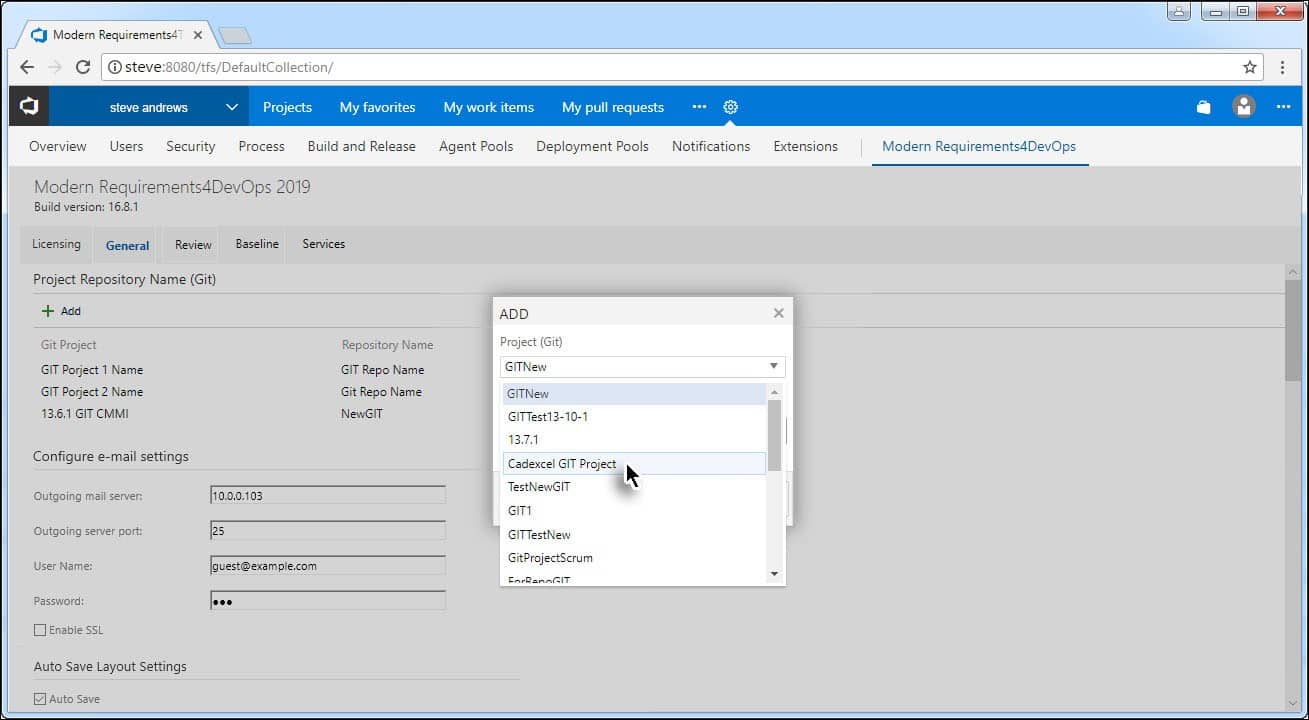
- Click the +Add option.

- Select the desired GIT project from the list.
- Enter a suitable repository name and click OK.
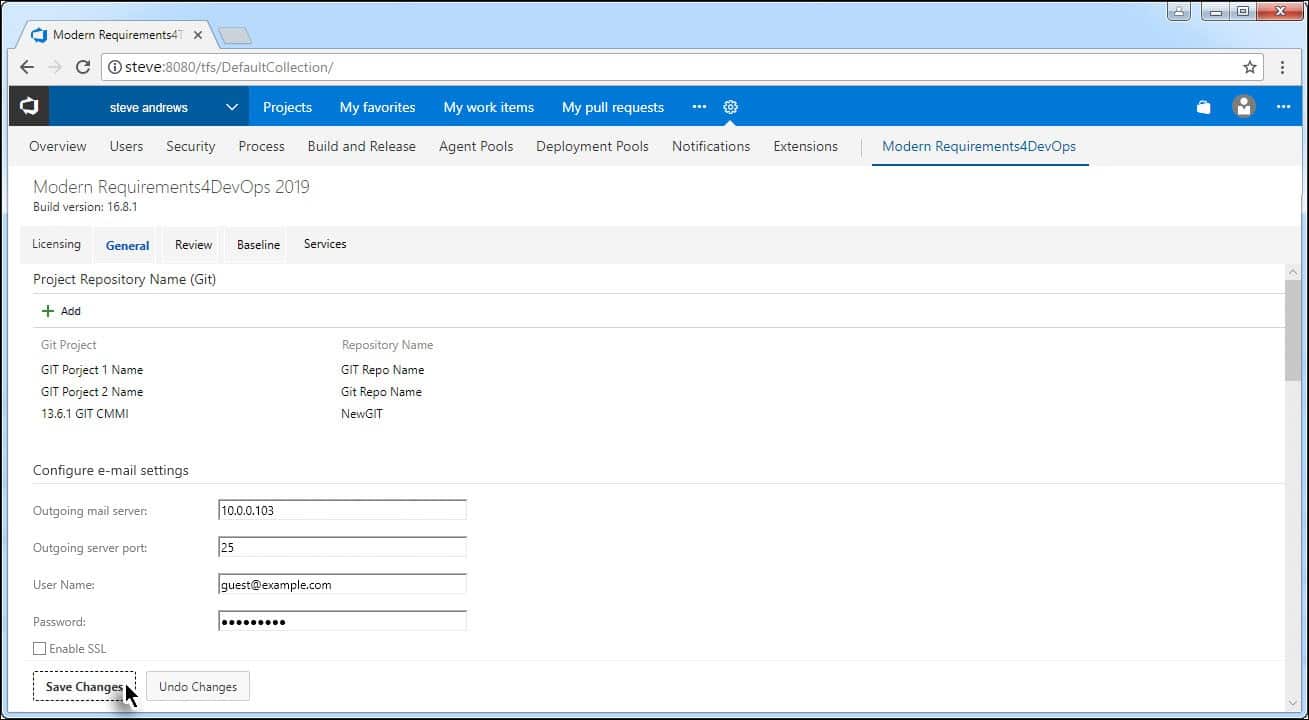
- Click Save Changes
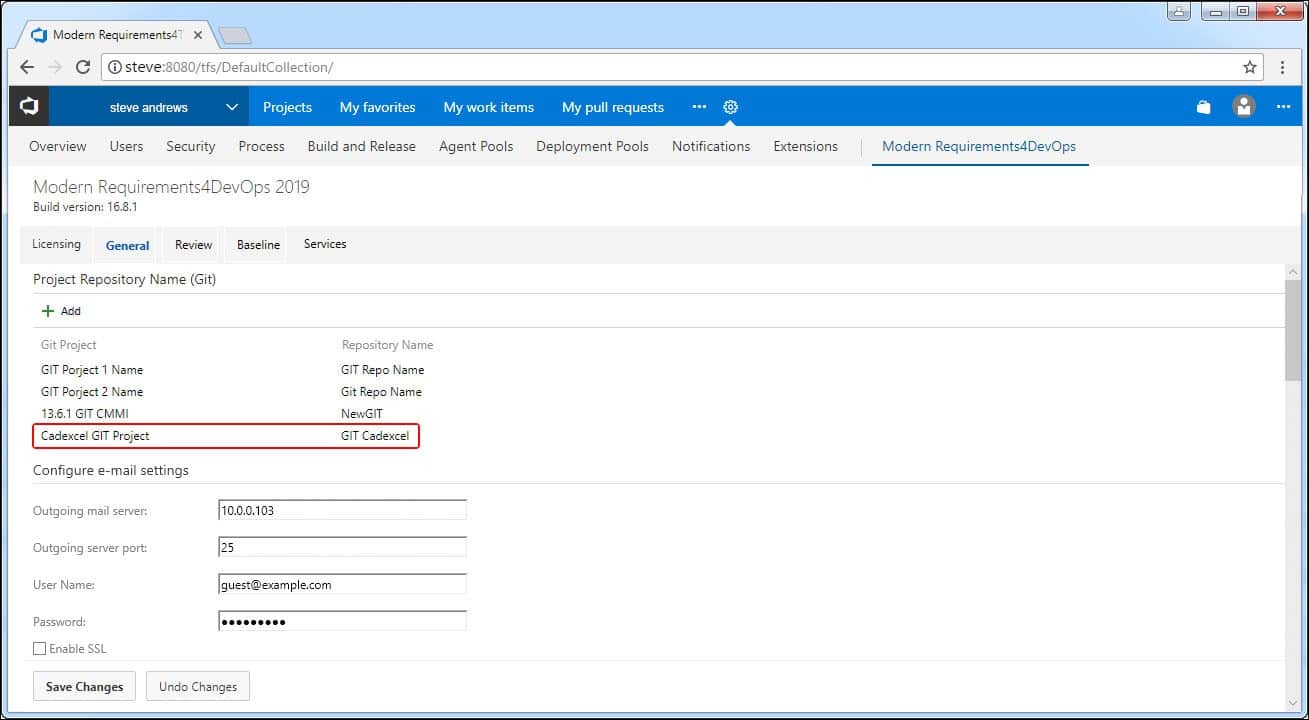
The new repository name becomes visible in the list.

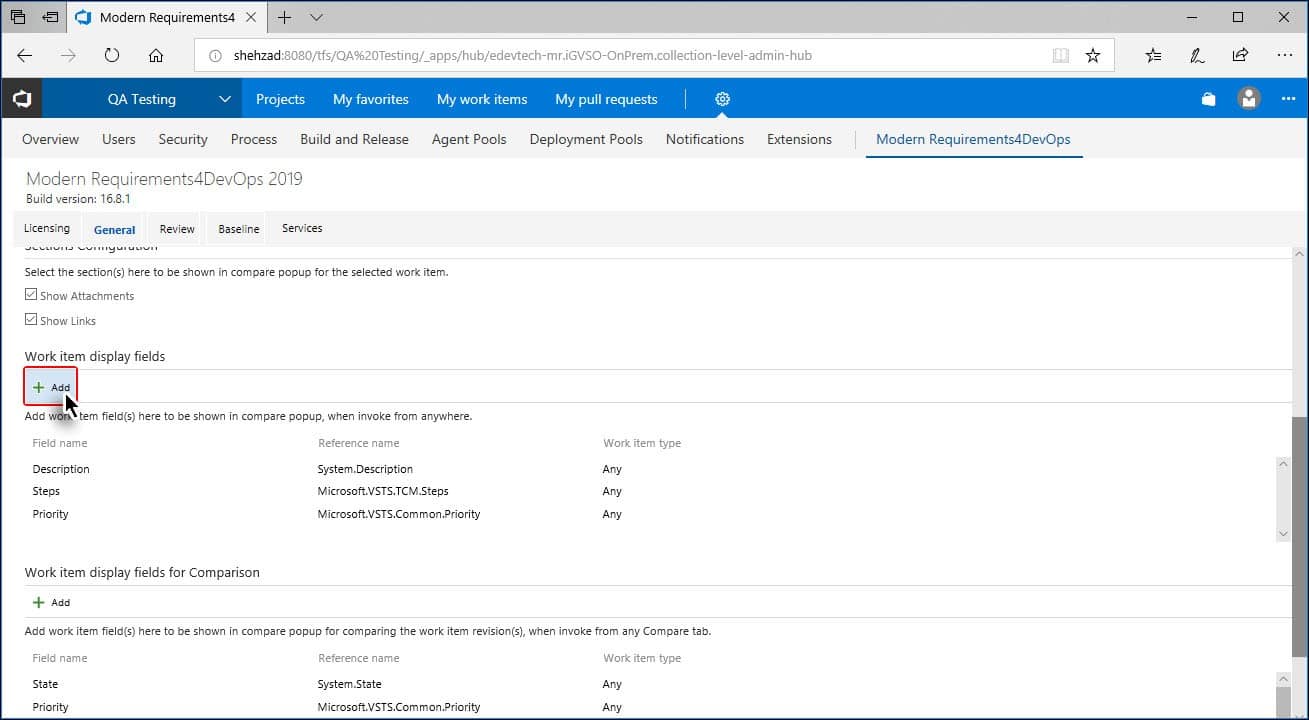
Wherever Work Item details are shown, not every field is displayed. Those which are displayed are configured using General section in Admin Panel.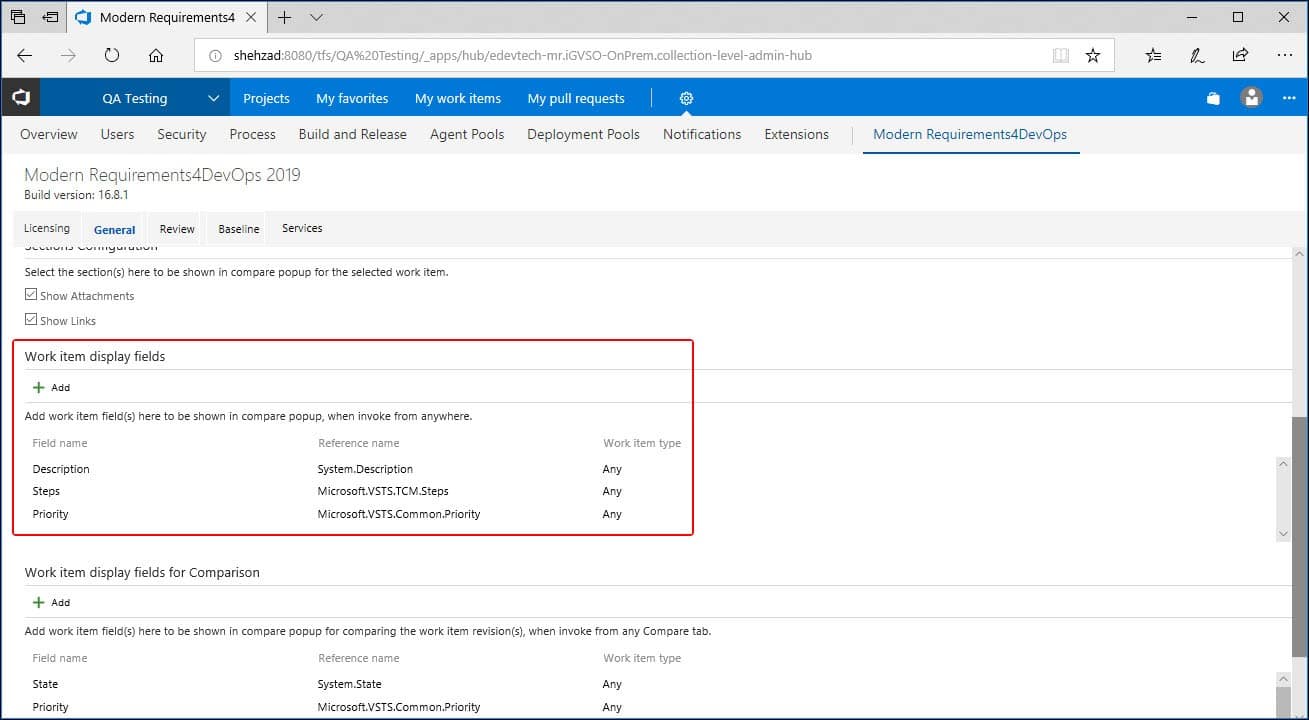
Users can configure the desired Work Item fields (that will be displayed), using the following steps:
- Access the Admin Panel and click General.
- Click the + Add option (under the Work Items display fields section).
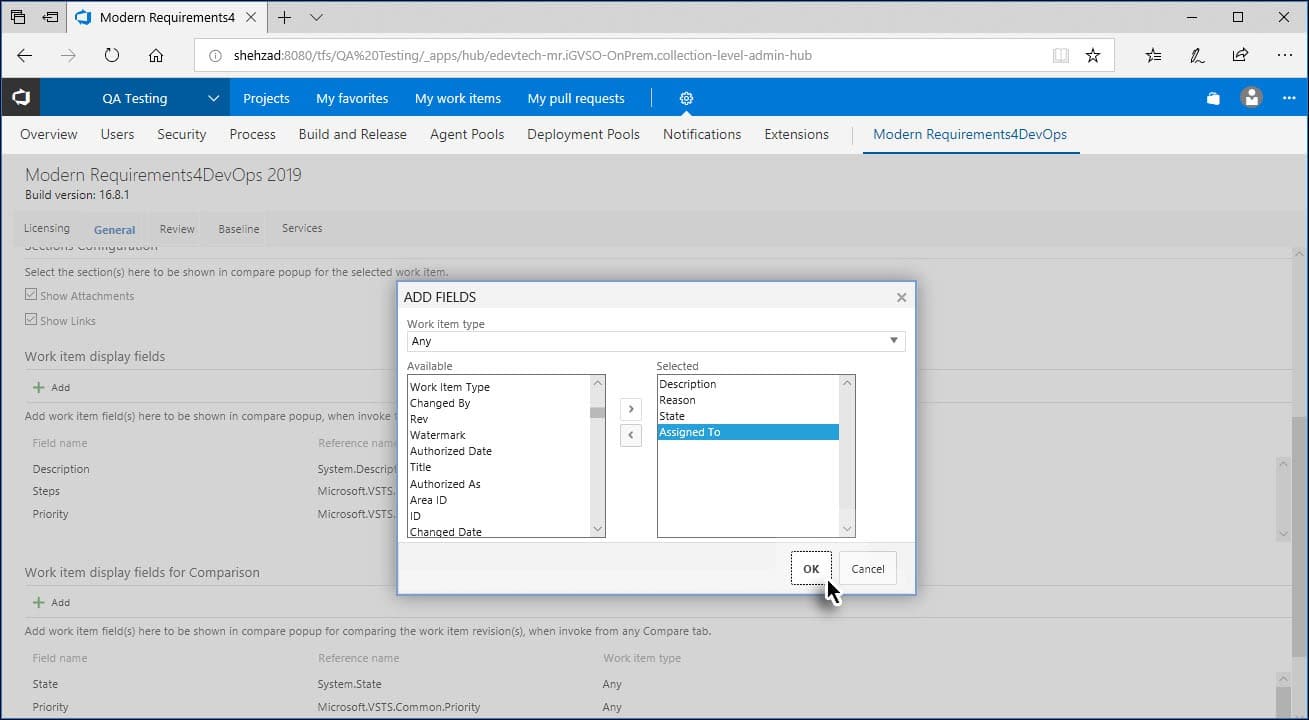
- Move the desired fields from the Available list to the Selected list using the arrow.
- Click OK after selecting all the desired.
- Scroll down and click Save Changes at the bottom.


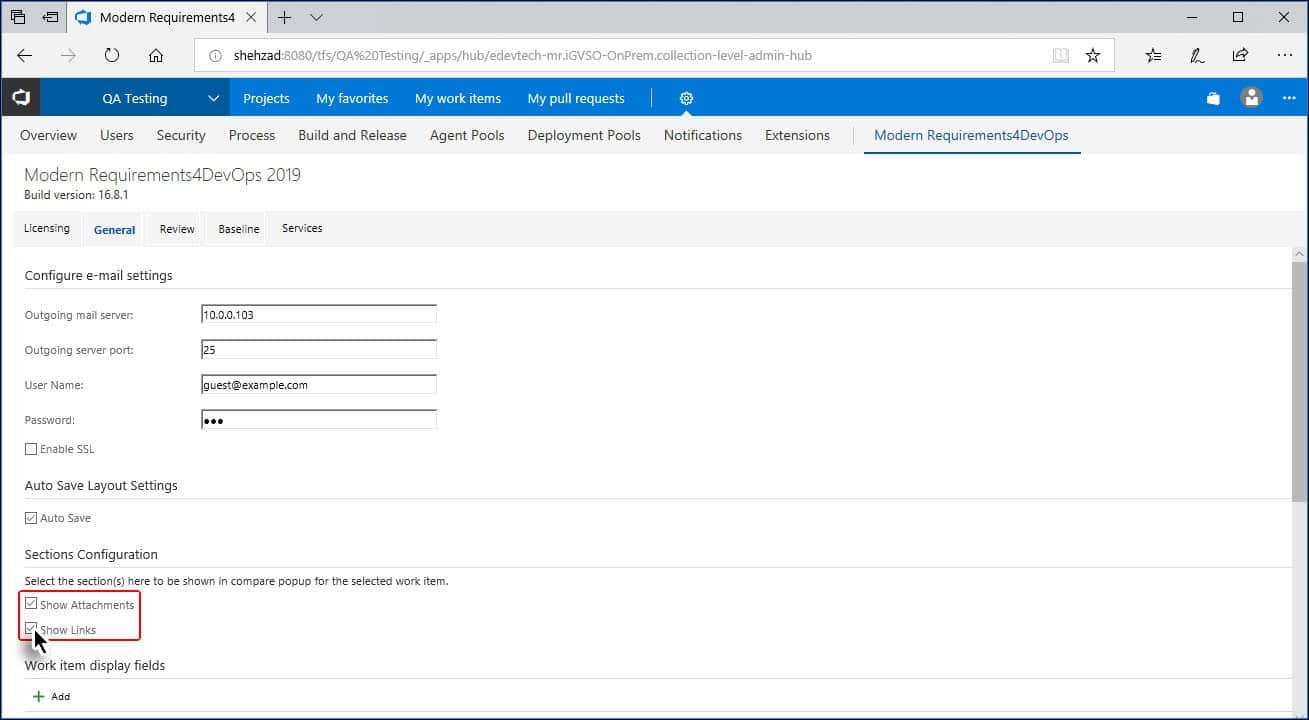
When a review is opened, users can check and compare different revisions of the selected work item using the compare popup. In this popup there are different sections such as Attachments and Links (highlighted below).
Users can configure which sections will be displayed during the comparison, using the following steps:
- Access the Admin Panel and click General.
- Select the desired checkboxes in the Sections Configuration heading.
- Scroll down and click Save Changes at the bottom.
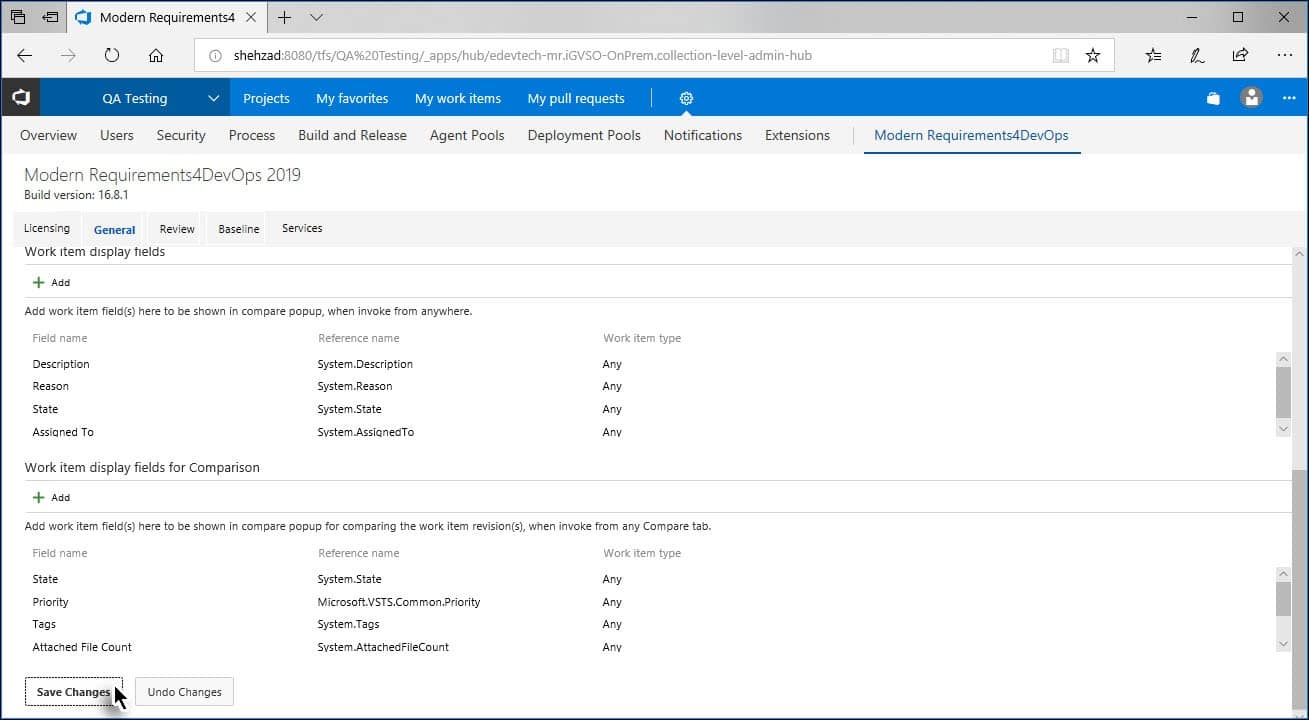
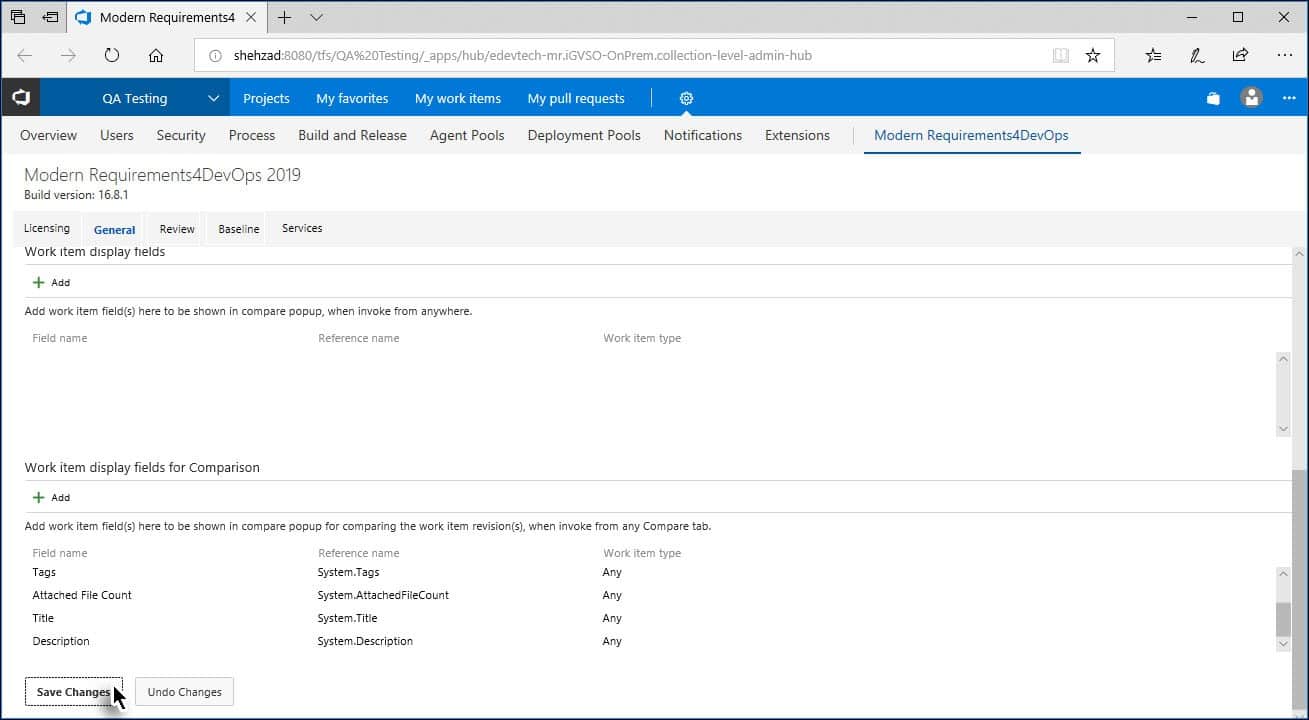
Wherever Work Items are compared, certain fields of the selected work item are shown in the Compare popup. The fields shown in the compare popup are configured using Admin Panel.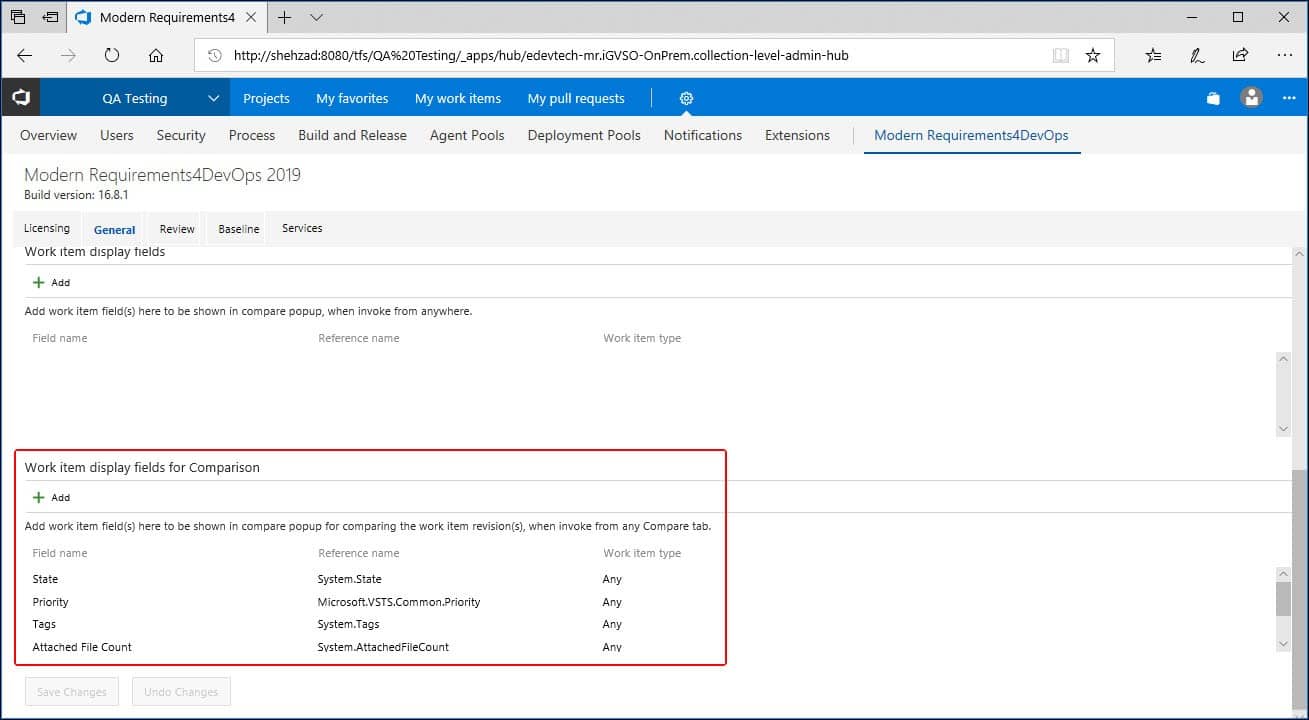
Users can configure the desired Work Item fields (that will be displayed), using the following steps:
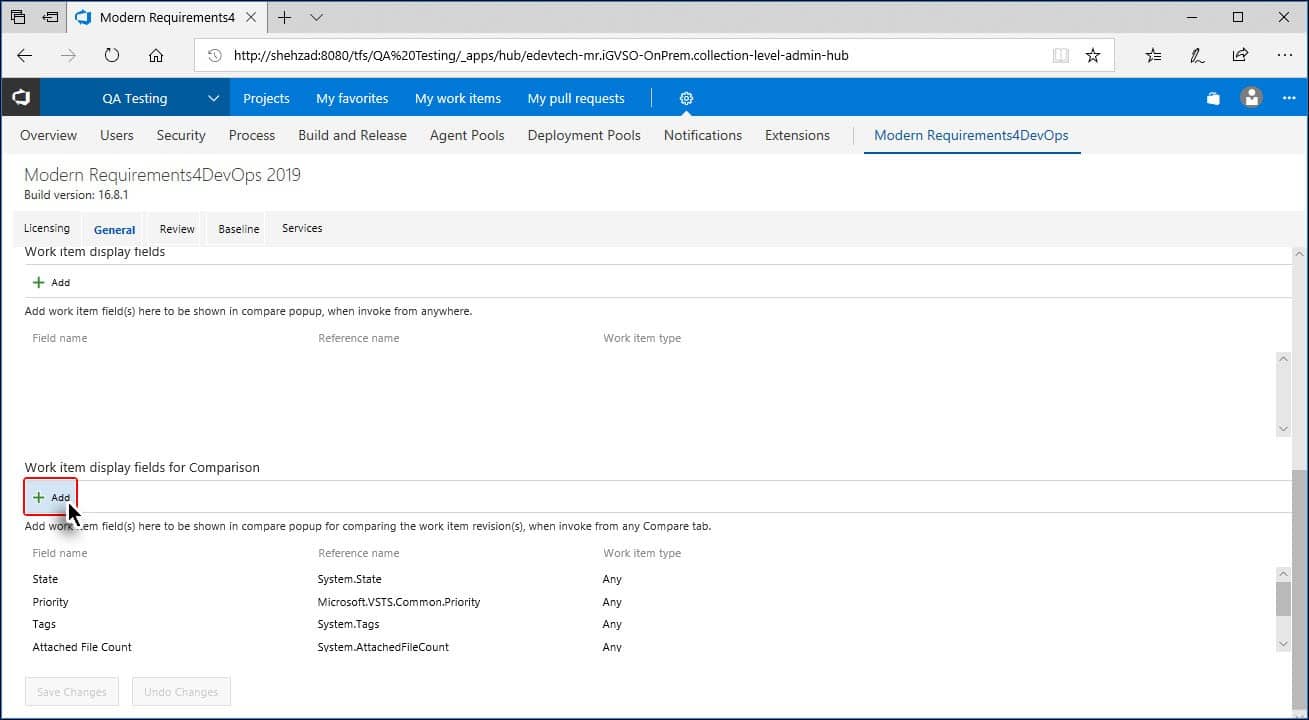
- Access the Admin Panel and click General.
- Click the + Add option (under the Work Items display fields section).
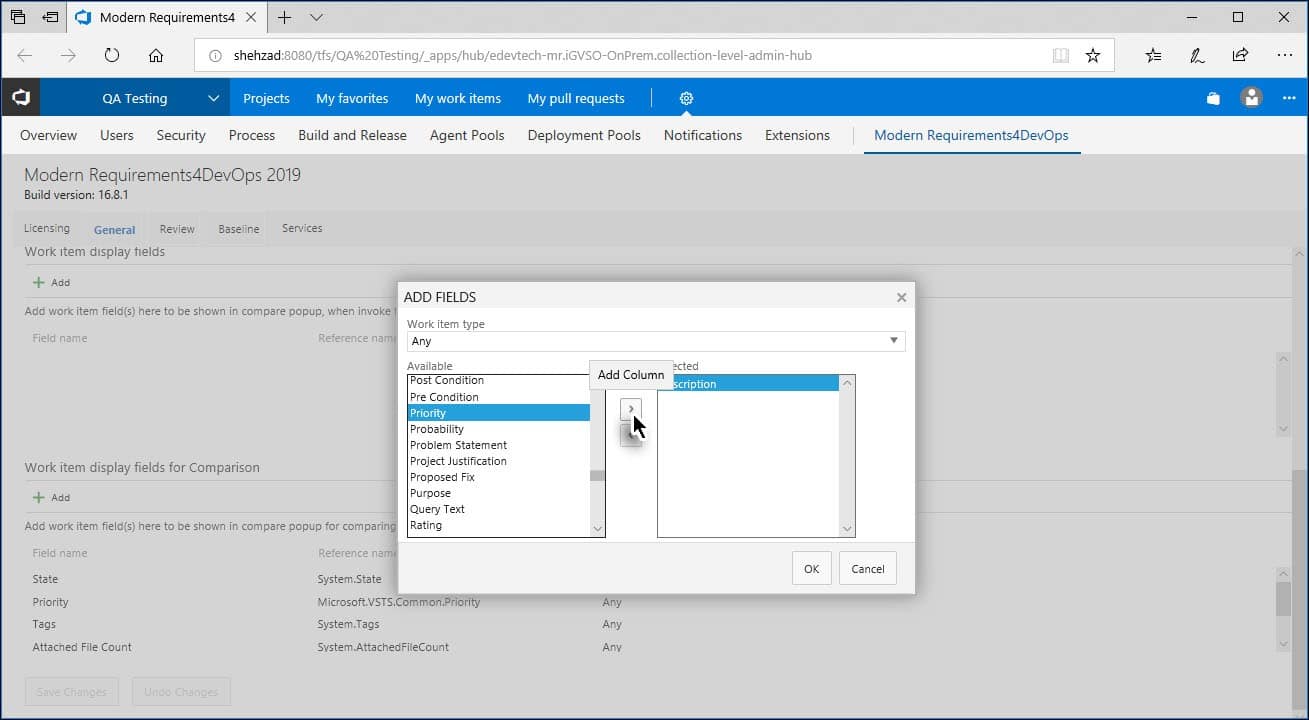
- Move the desired fields from the Available list to the Selected list using the arrow button.
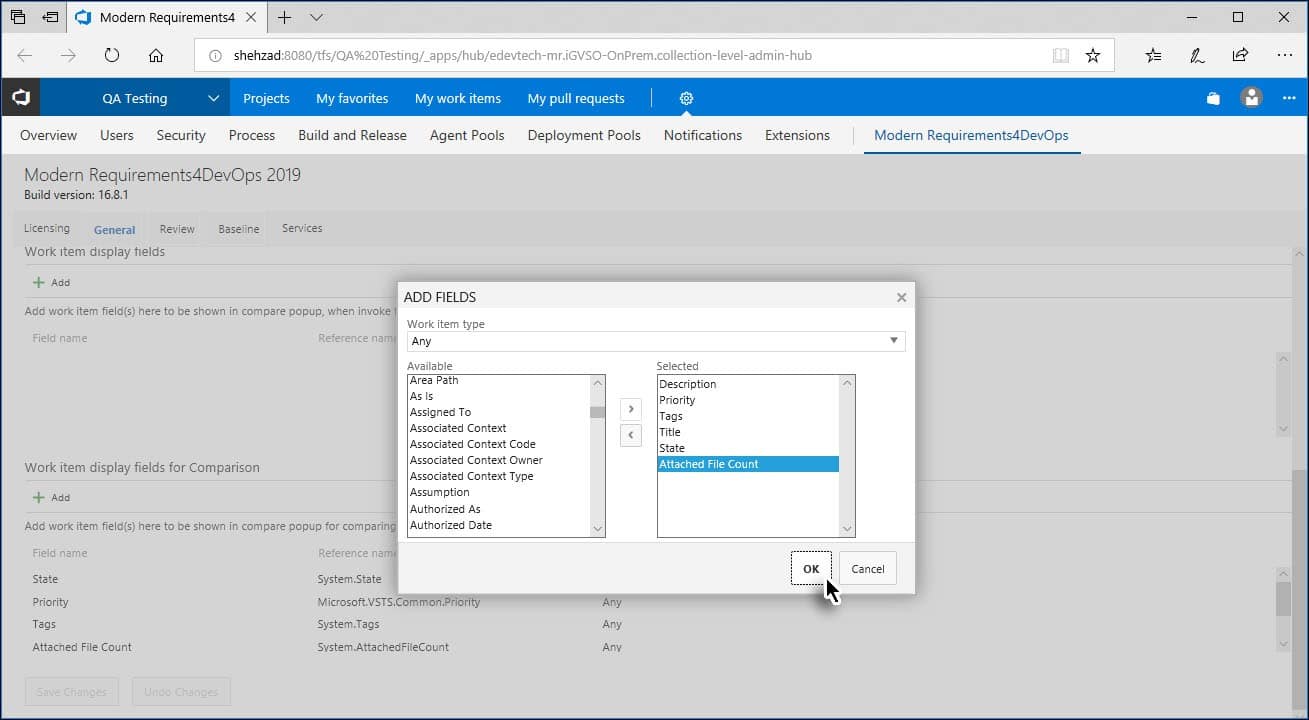
- Click OK after selecting all the desired fields.
- Click Save Changes at the bottom.

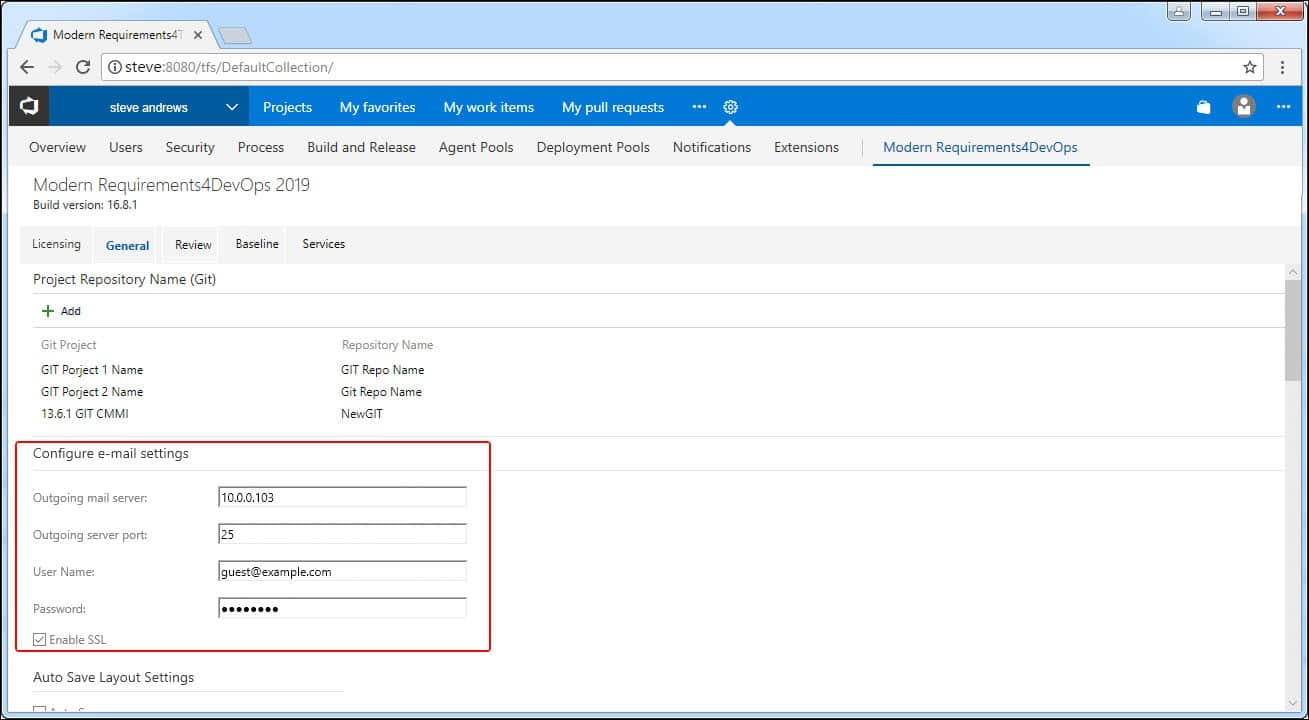
For many tasks, Modern Requirements4DevOps needs to send out emails. The basic settings for the email account are done using General section.
Provide details for the email account.
- Scroll down and click Save Changes.

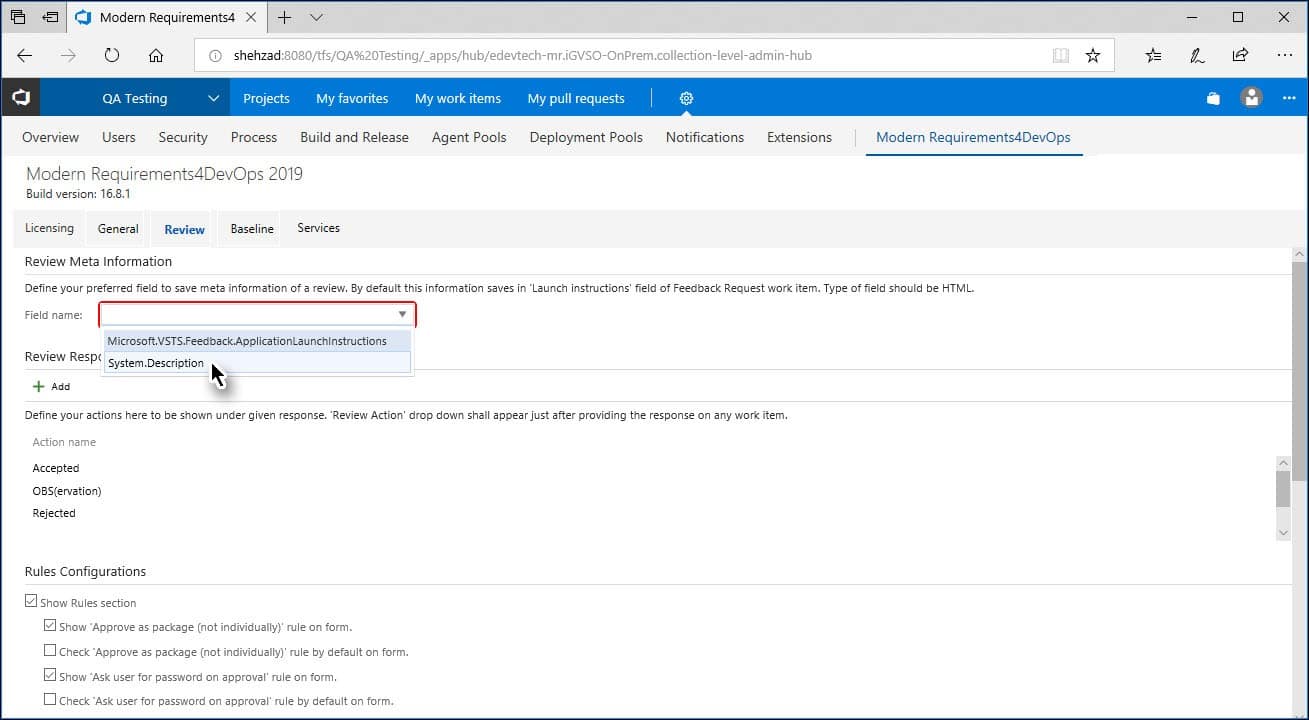
When you initiate each review request, a Feedback Request Work Item is created. By default, the metadata of the review is saved in the Launch Instruction field of that work item. However, you can configure it to save the metadata in the field of your *choice using the following steps:
*The metadata support at the moment is reserved only for the HTML type fields of Launch Instructions and Description.
- Access the Admin panel and click Review.
- Select the desired field (from the first option in the page) to store the metadata.
- Scroll down and click Save Changes at the bottom.

The actions for the review response can be configured so that the desired values can be added.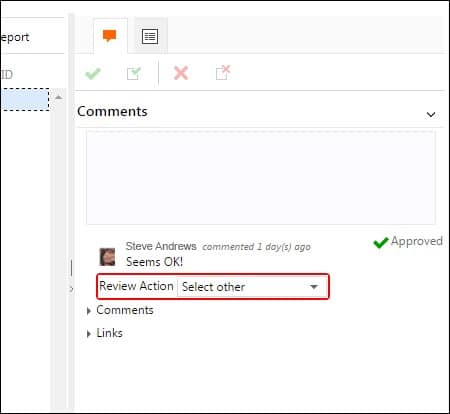
This can be done by:
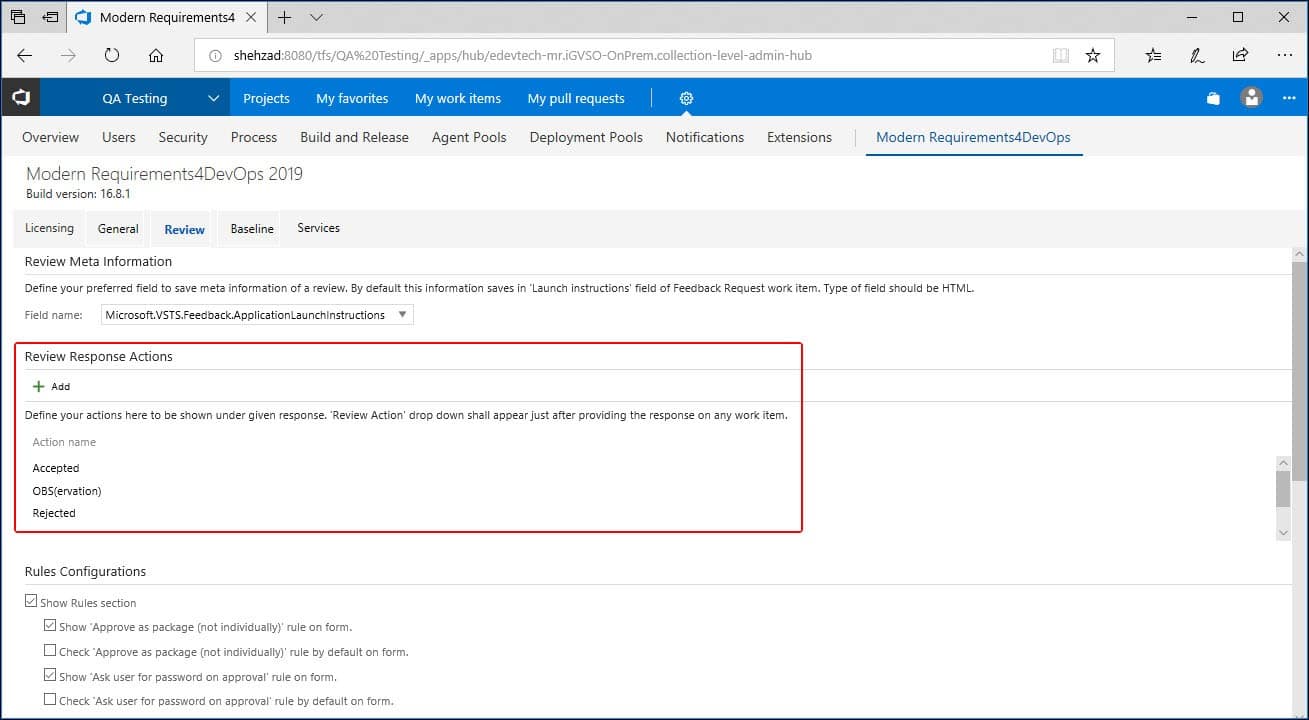
- Accessing the Admin panel and clicking the Review option.
The Review Response Actions section determines which actions are available for review response.
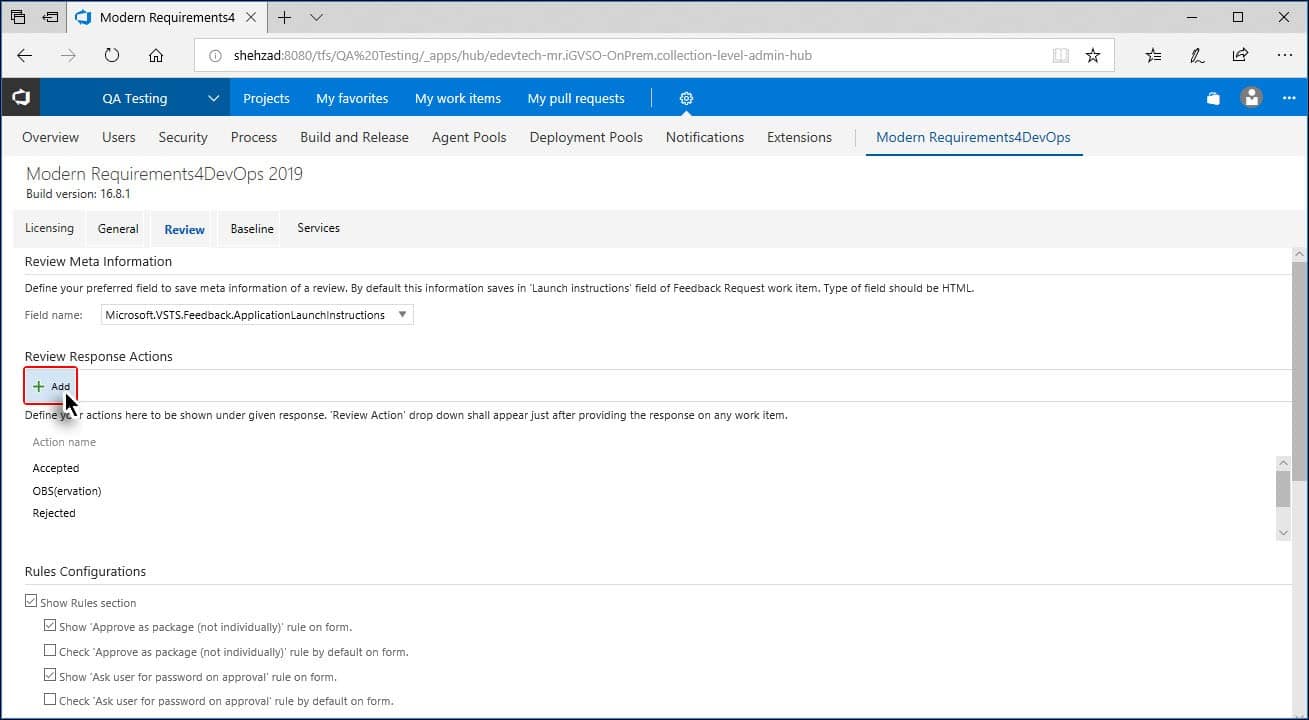
- Select the +Add option located in the Review Response Actions section.
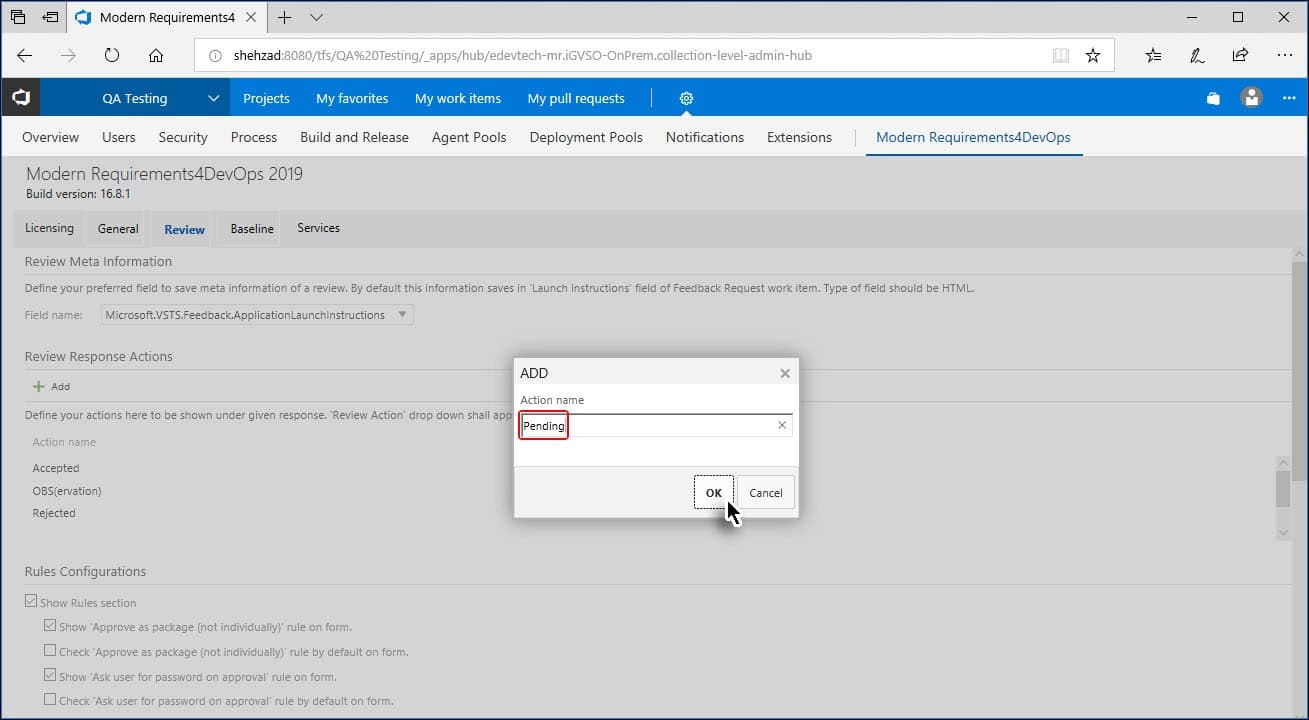
- Enter a suitable action name and click OK.
- Scroll down and click Save Changes at the bottom.
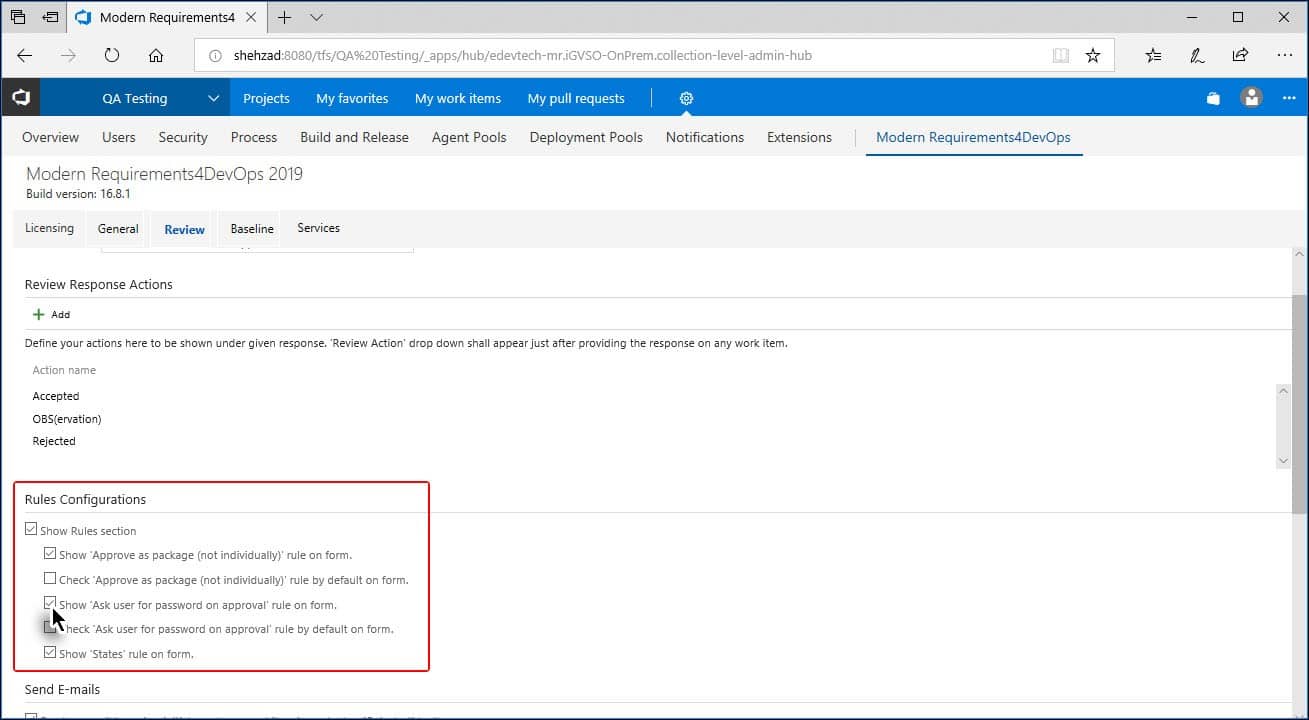
While creating a Review Request, the Rules section is shown at the bottom of the dialogue box.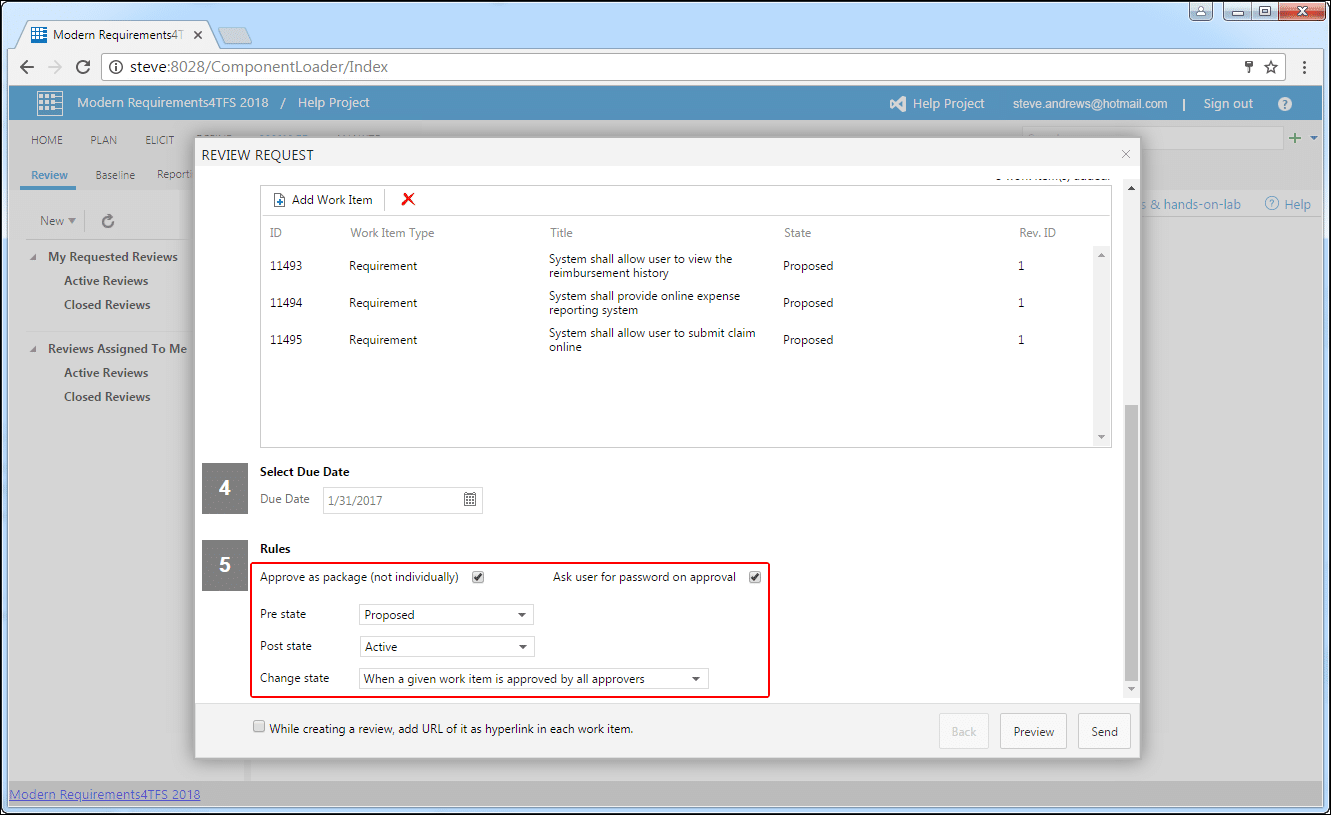
User can configure if this section is shown or not, and if shown which of the controls are shown in the section. This is done by:
- Accessing the Admin panel and clicking the Review
- Scroll Down till the Rules Configuration section is visible.
- Configure which of the option appear in the Rules Section of Review Request dialogue box (Disable the top control if the Rules section is not to be shown).
- Scroll down and click Save Changes.

Modern Requirements4DevOps can automatically send out emails to stakeholders when certain events occur while responding to a review request. Users can configure which events, when occurred would send out emails automatically, by enabling/disabling relevant check boxes.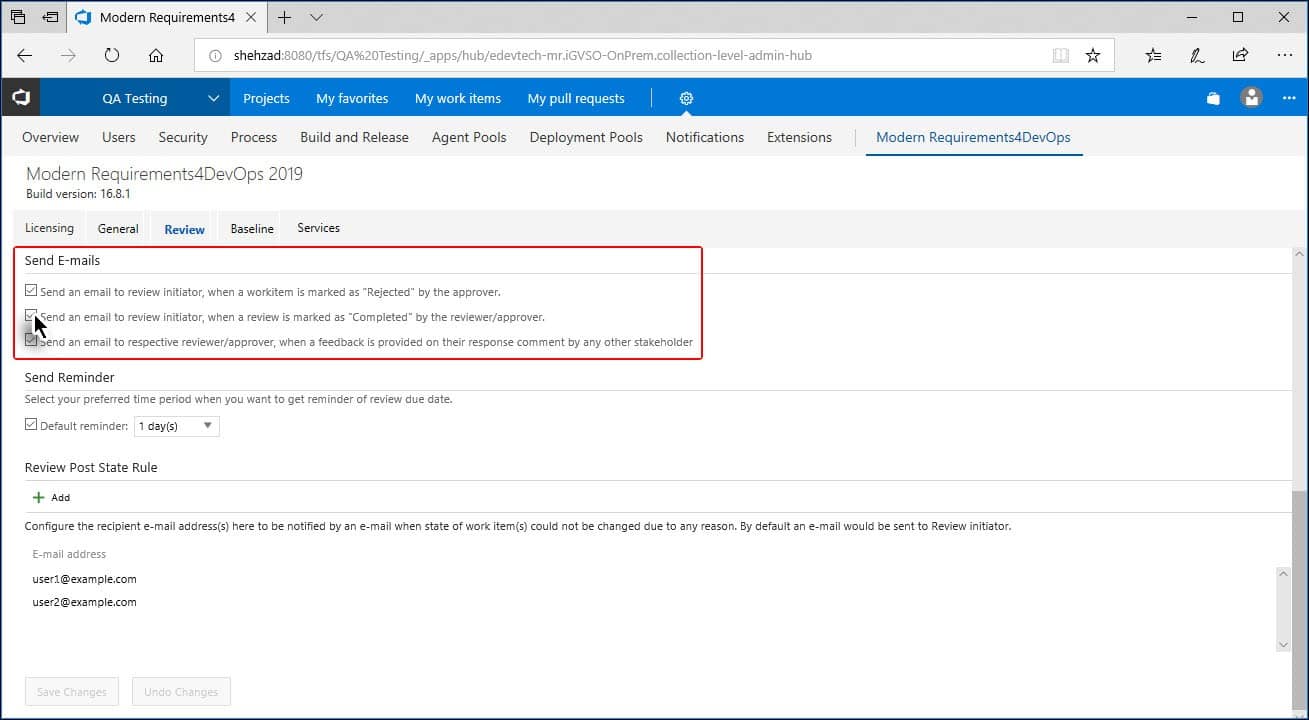
Like other options, Save Changes button should be clicked after updating this section.
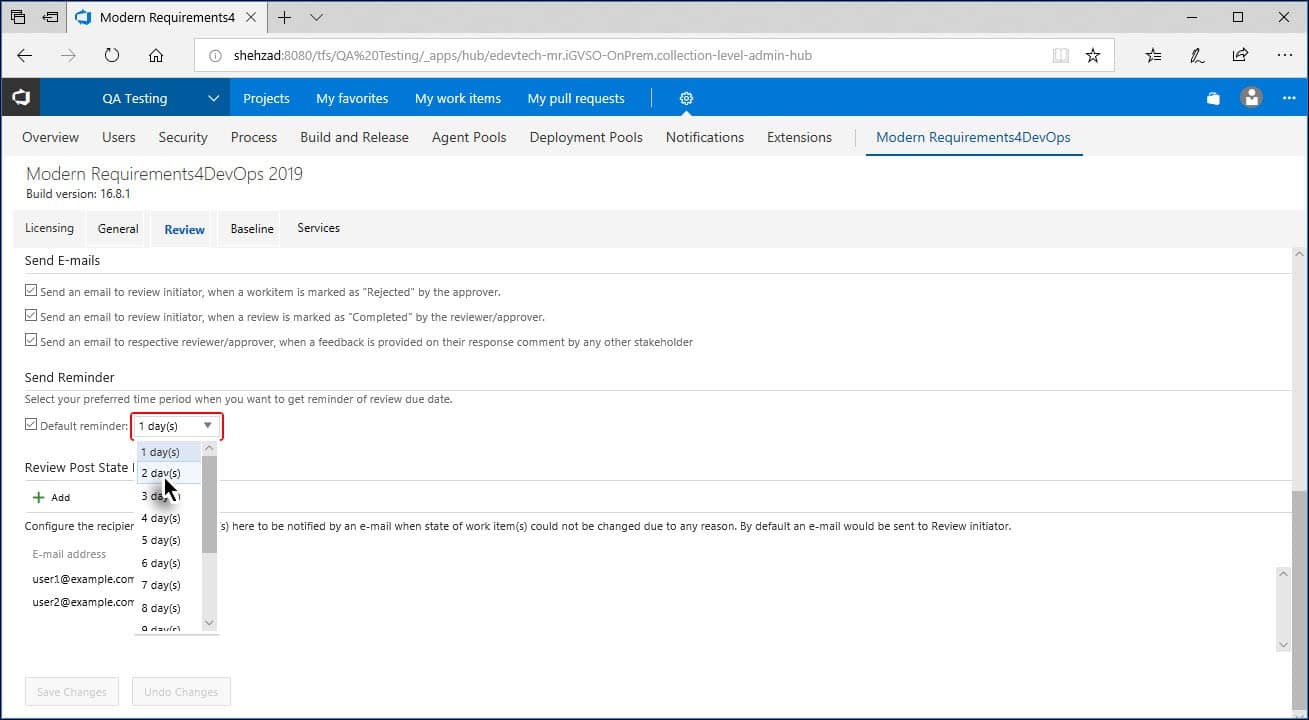
Modern Requirements4DevOps can automatically send out reminder emails to reviewers/approvers to make sure they respond to the review request within due time. This is done using the corresponding part under the Review section of Admin Panel.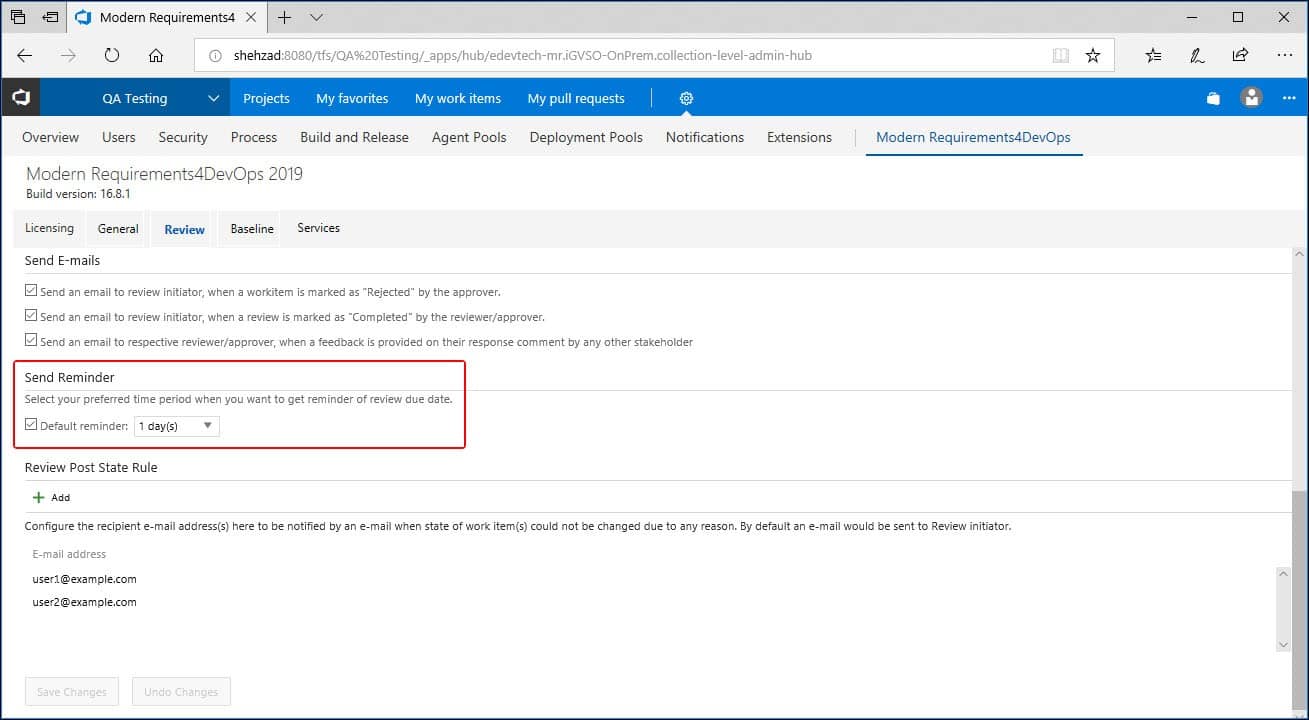
Follow these steps to configure the reminder email timing:
- Access the Admin panel and click Review.
- Scroll down to view the bottom portion of the page.
- Select the desired time in days (before the deadline) from the list.
- Click Save Changes

When a review request is being created, a field called Post State (in the Rules section) tells Modern Requirements4DevOps to change the state field (to the selected state) when the approval process is completed.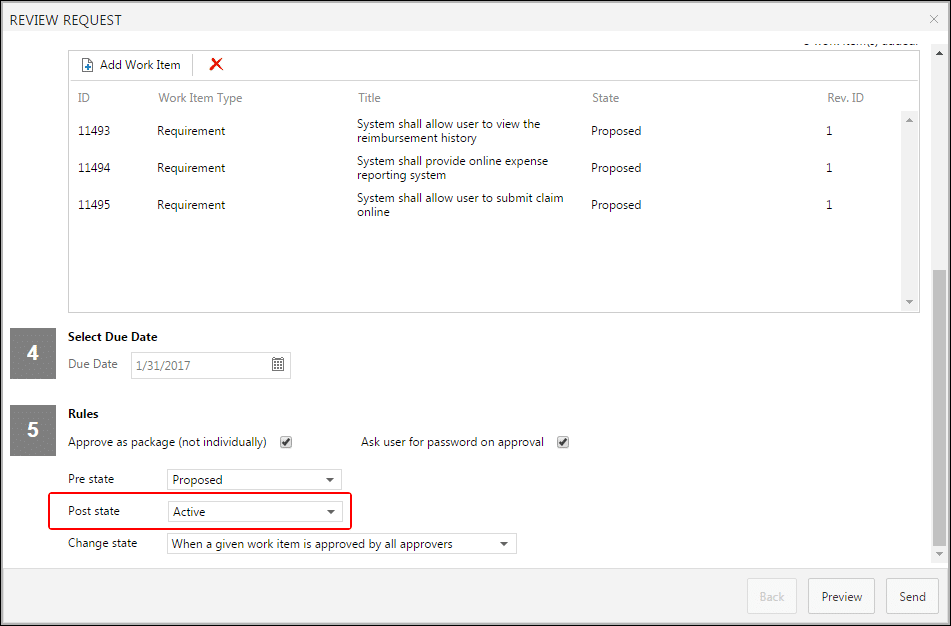
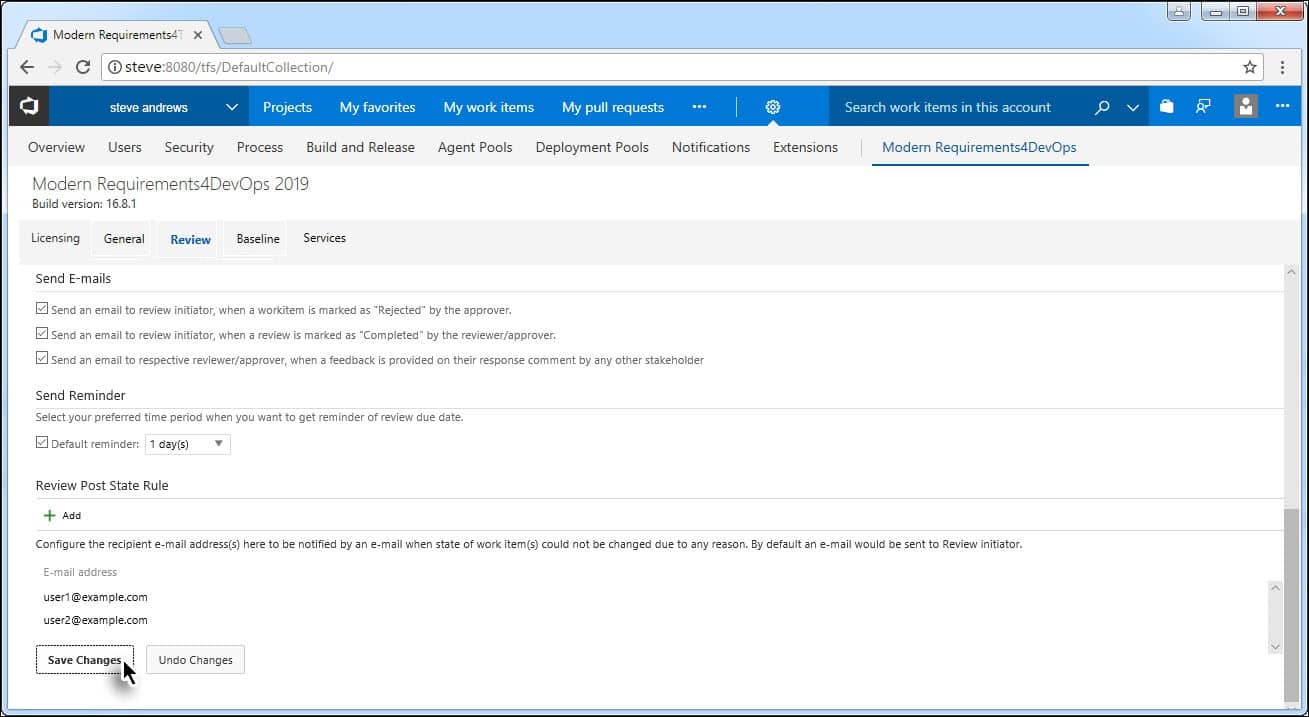
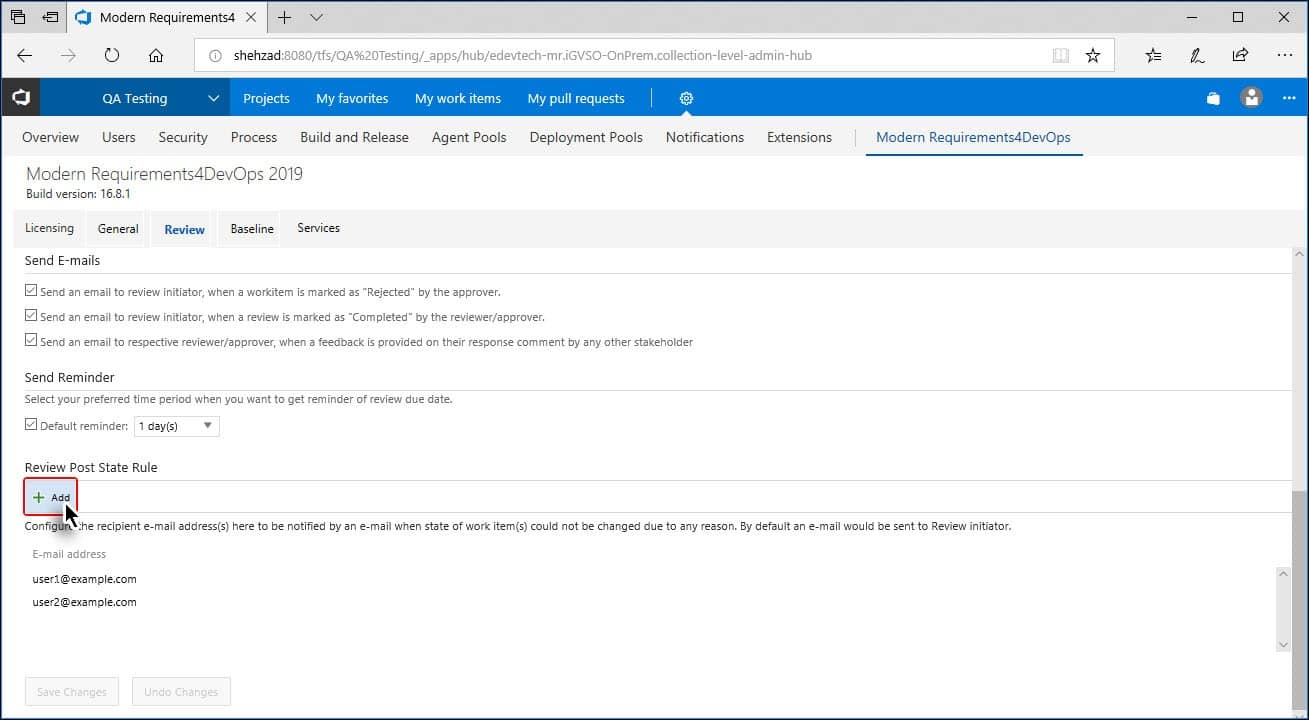
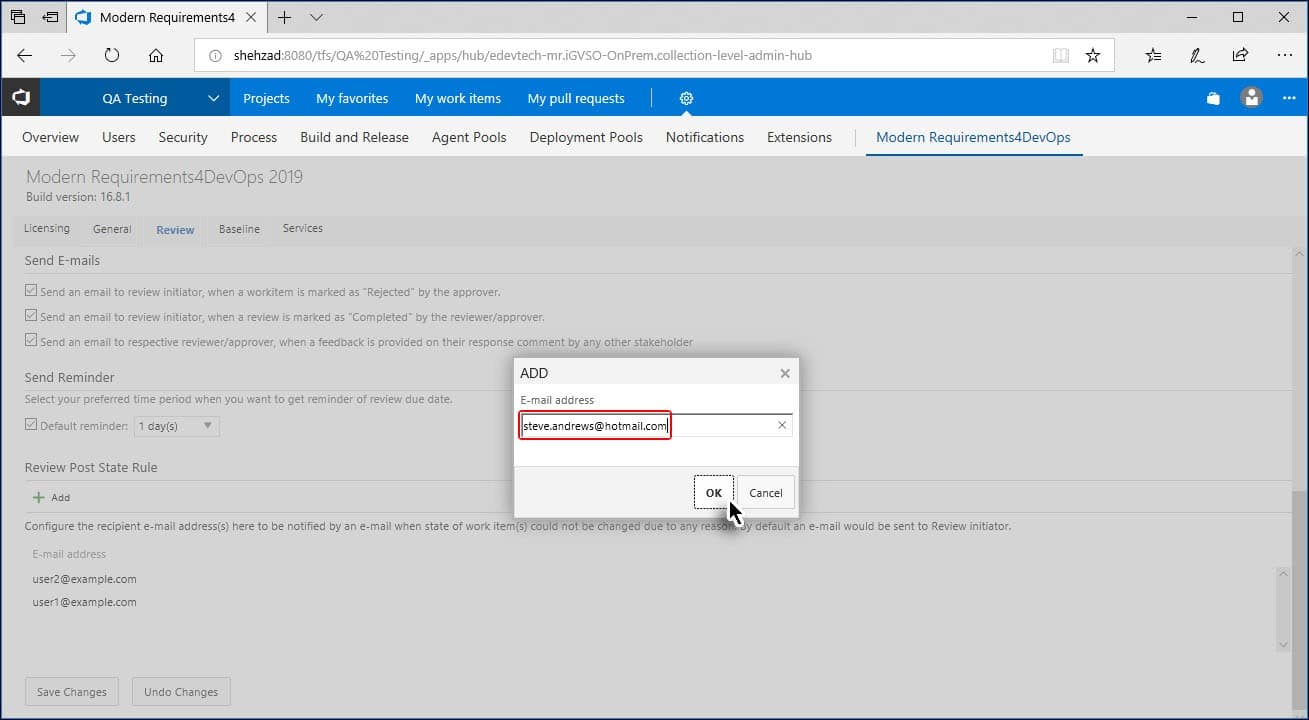
If the selected post state can’t be automatically achieved for any reason, the review initiator will be notified automatically via email. That said, the review initiators may want to send out the automatic notification to additional stakeholders. This section deals with how to configure the emails for these additional stakeholders.
- Access the Admin panel and click Review.
- Scroll down to view the bottom portion of the page.
The Review Post State Rule section determines which actions are available for review response.
- Click + Add option located in the Review Post State Rule section.
- Provide the desired email address and click OK.
- Click Save Changes.


While two baselines are being compared, field values are actually being compared at the basic level. Users can now configure whether they want link type updates to be considered as a CHANGE or not. This is done by enabling or disabling the relevant checkbox under the Baseline section in Admin Panel.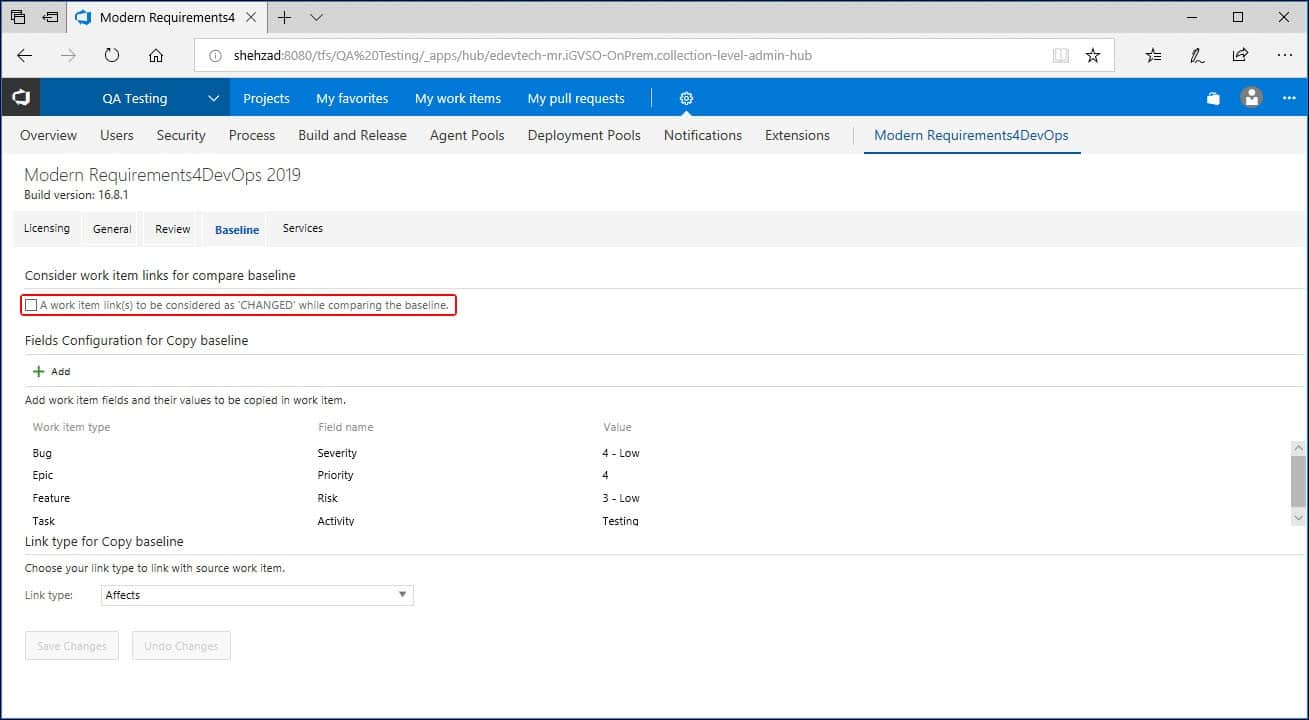
- Enable / Disable the checkbox if the links update is to be considered a change or not (during baseline comparison).
- Click the Save Changes button.
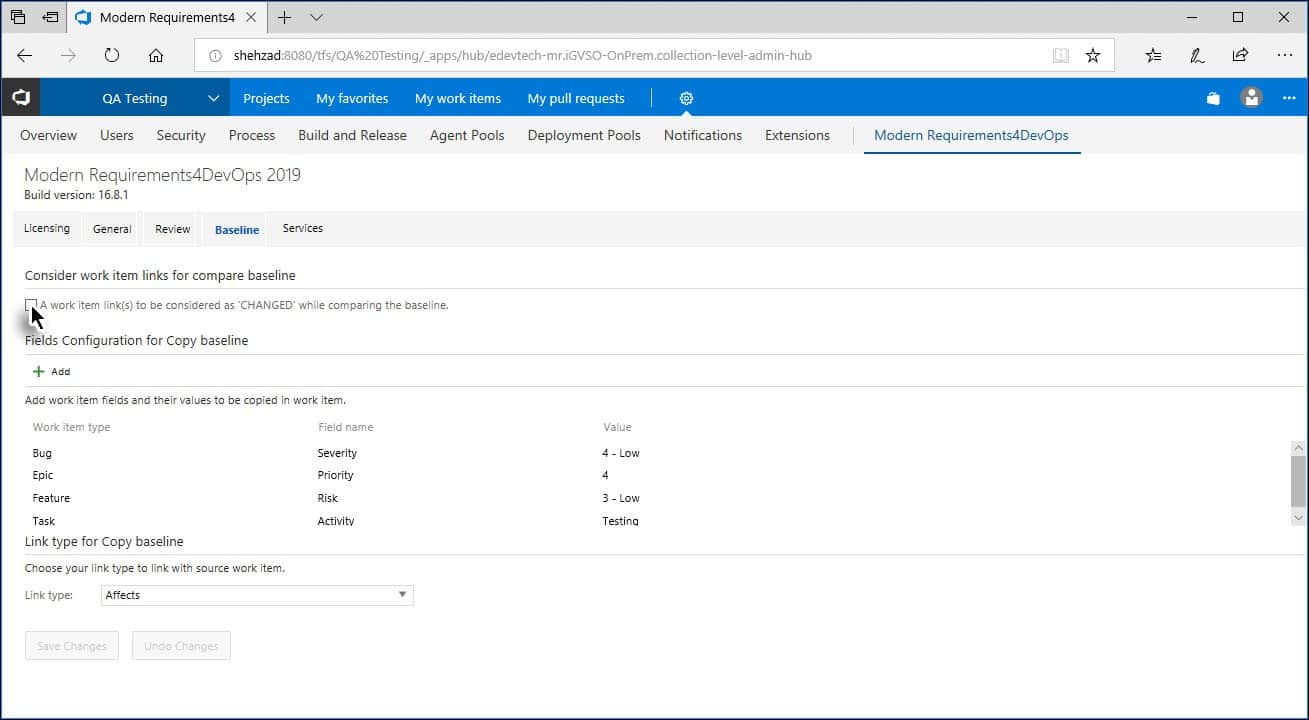
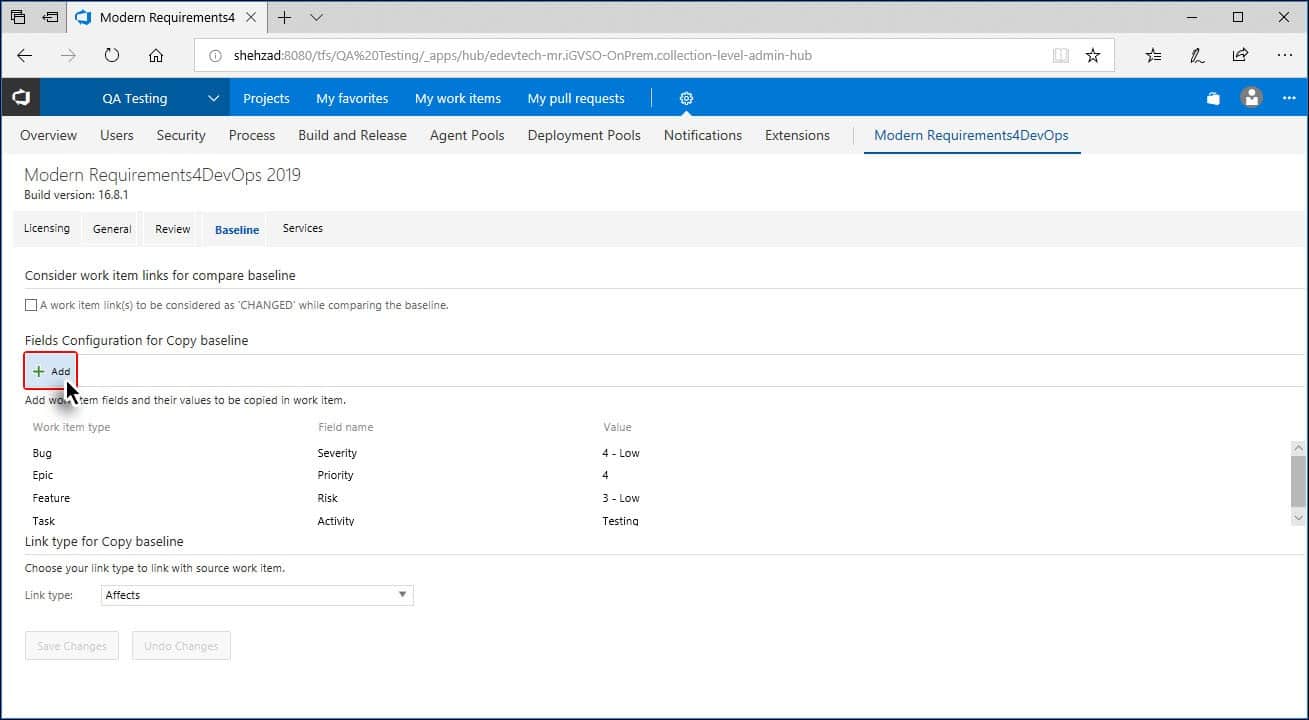
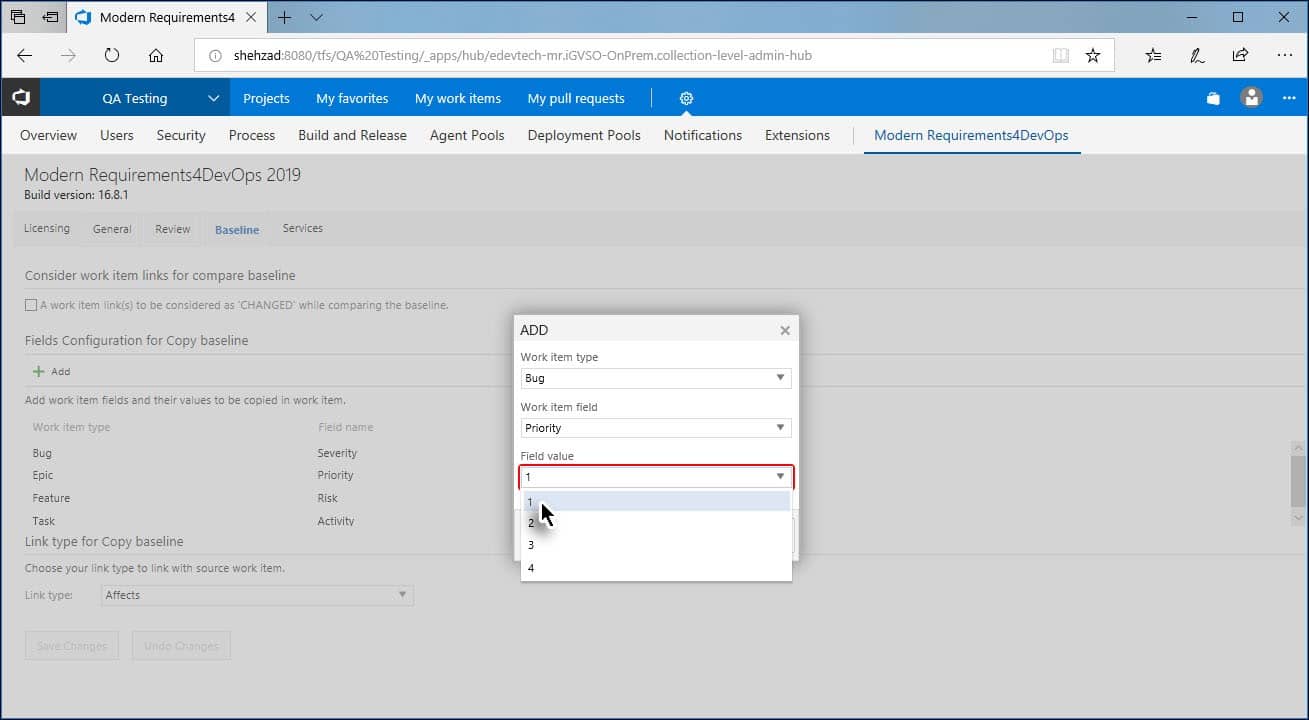
- Access the Admin panel and select the Baseline option.
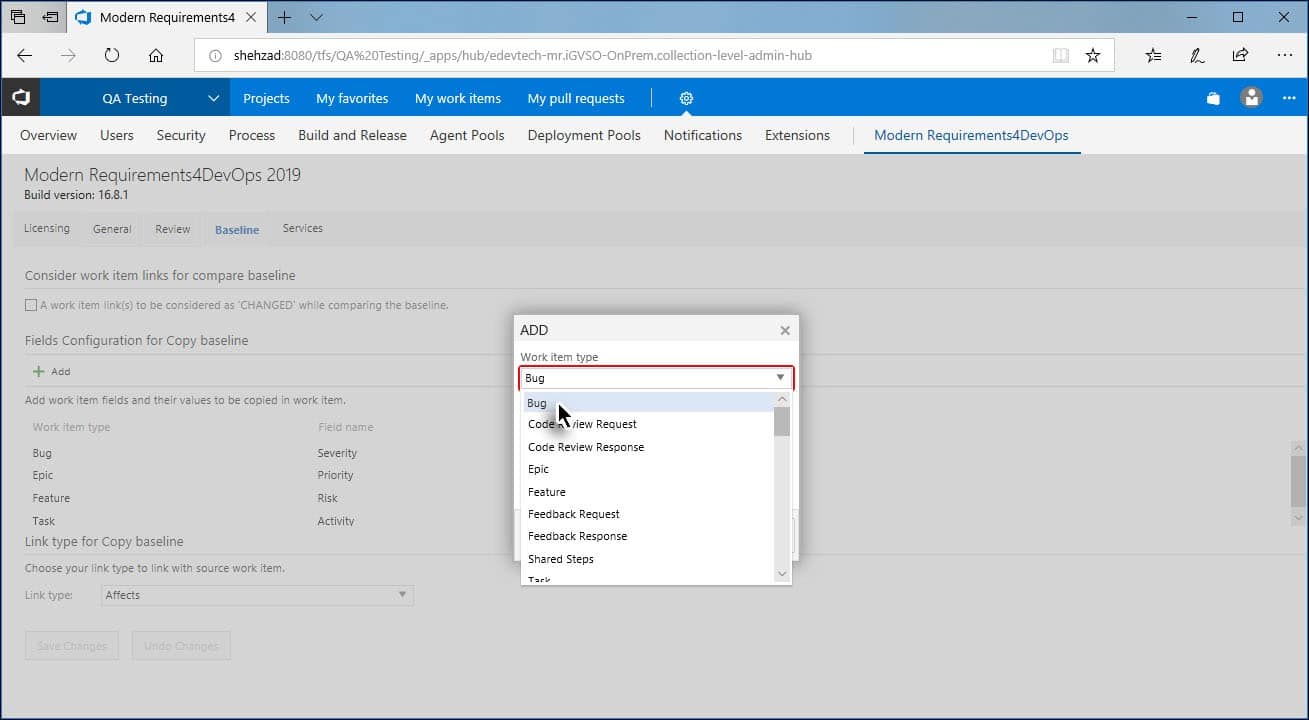
- Click + Add option (located in the Work Item display fields section).
- Select the relevant Work Item type.
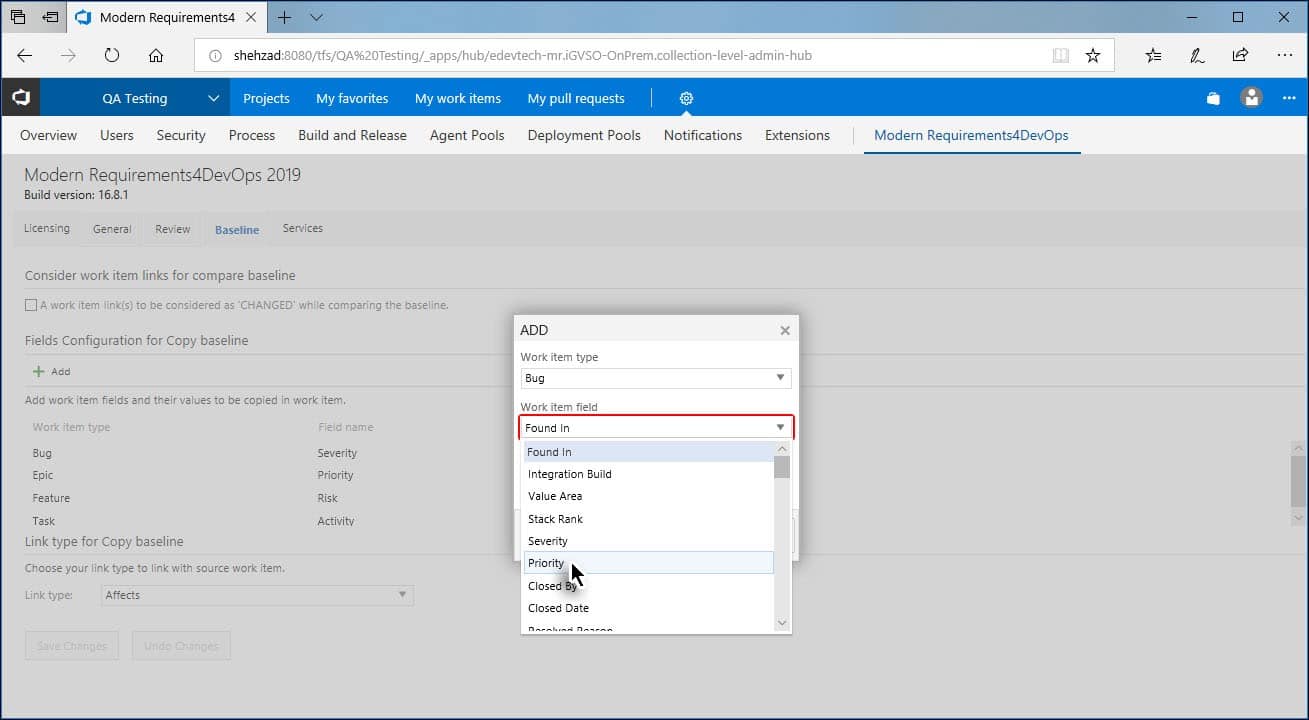
- Select the desired Work Item field.
- Select the default value of the field.
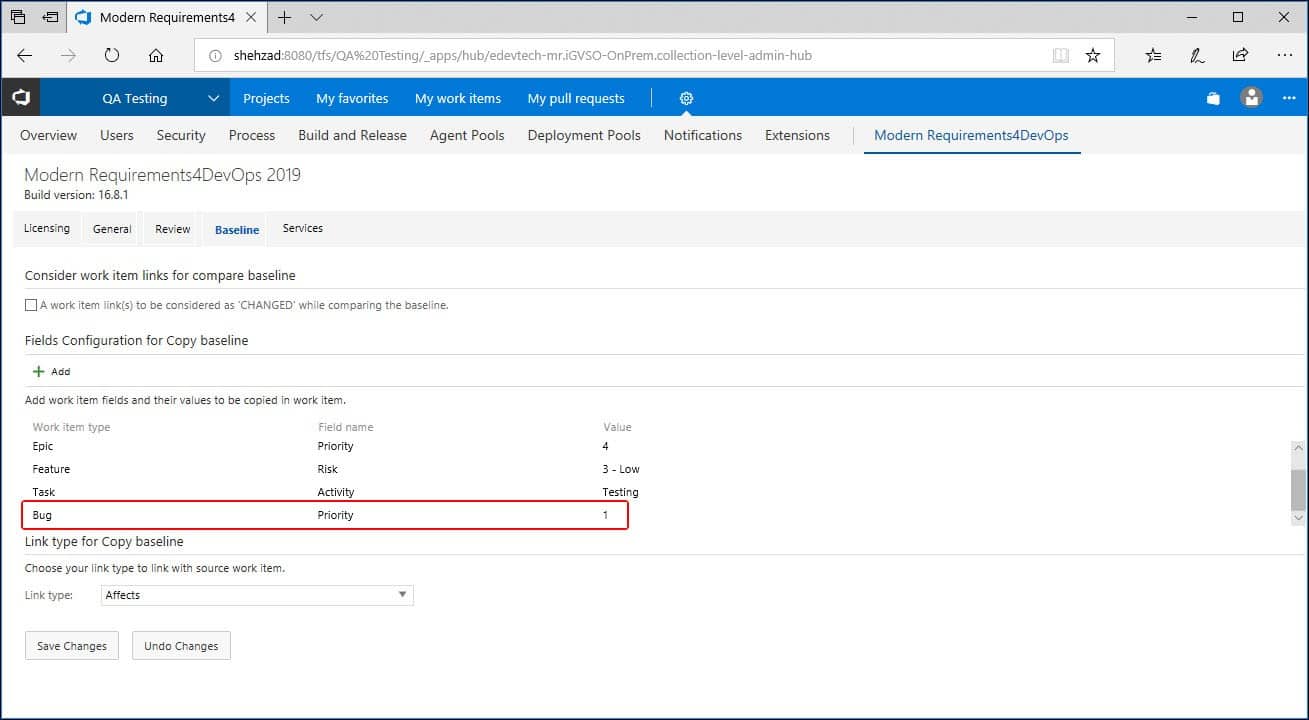
The work item field is added to the list.
- Click the Save Changes button.
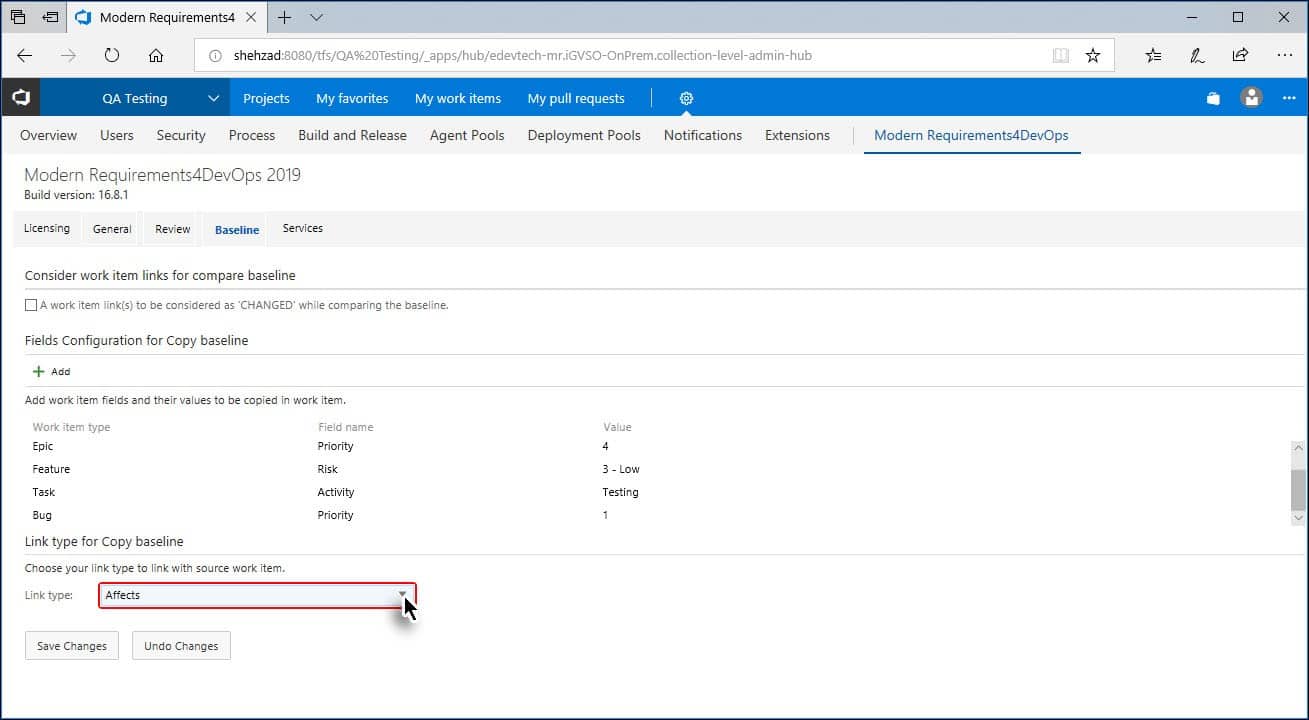
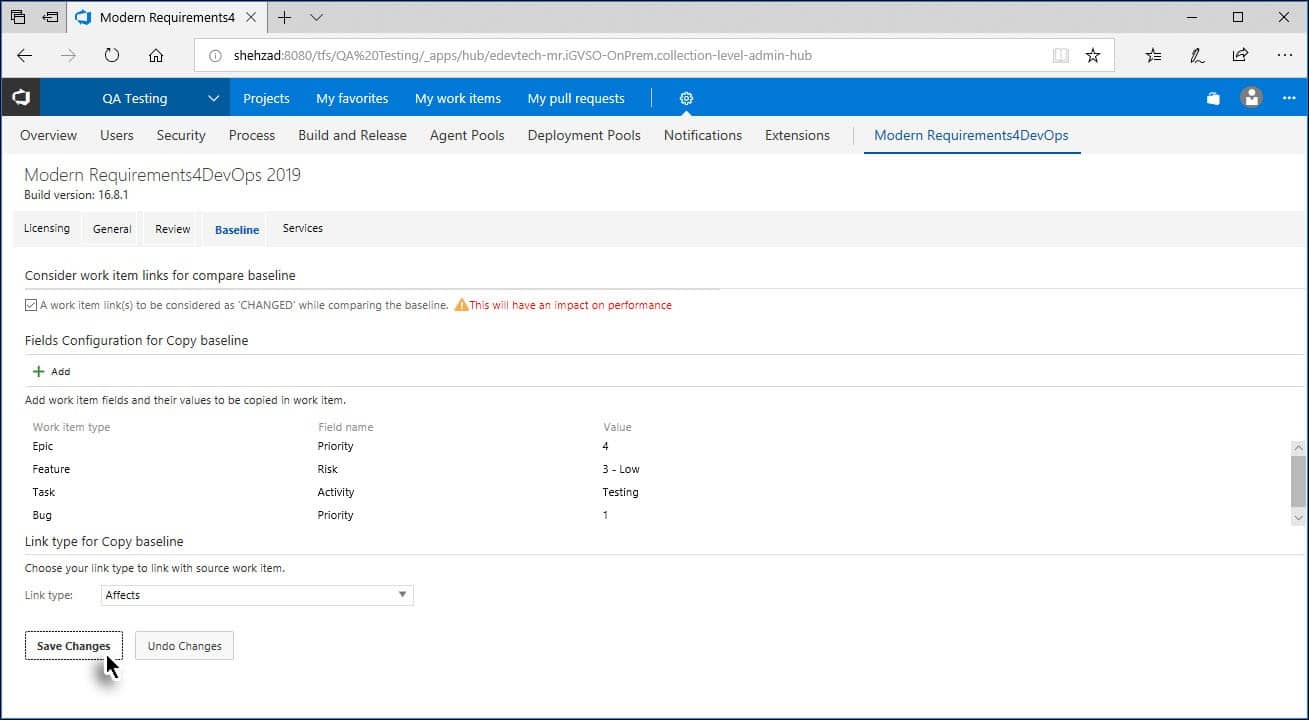
When a baseline is being copied, users can link the original work items with the work items being created at the target location.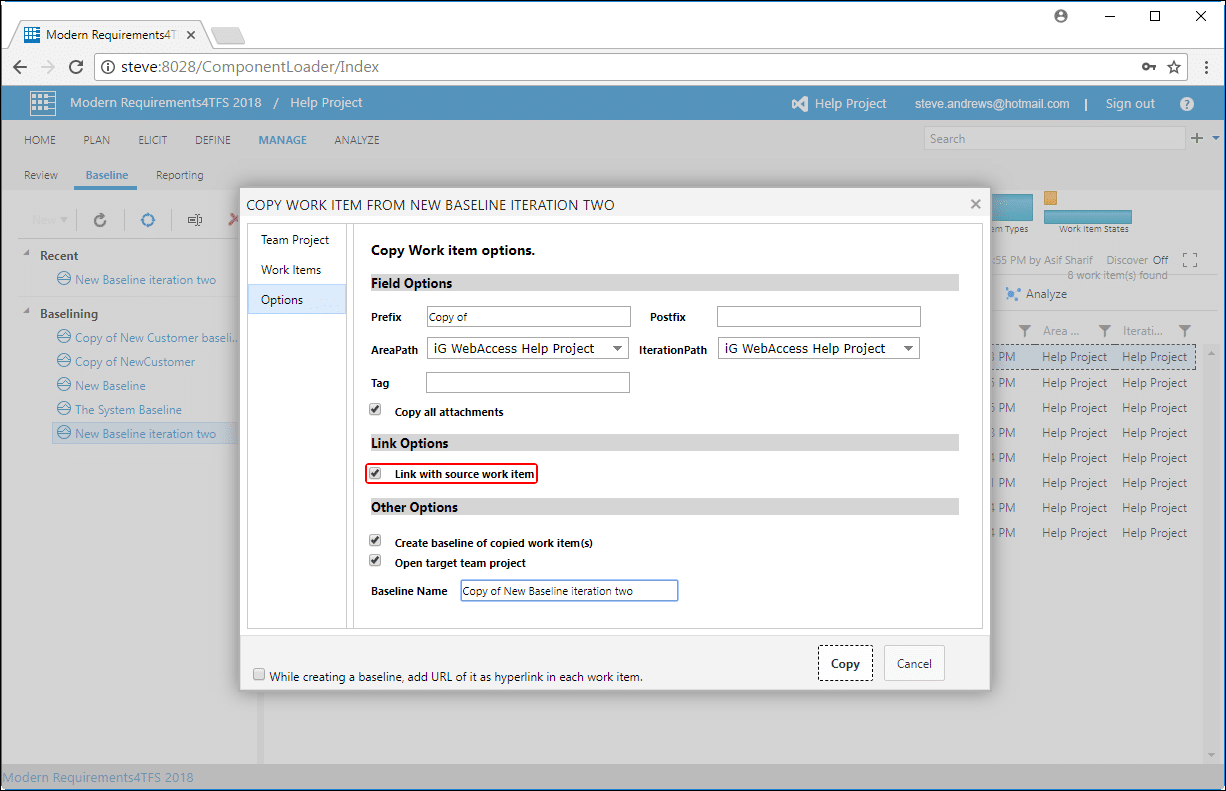
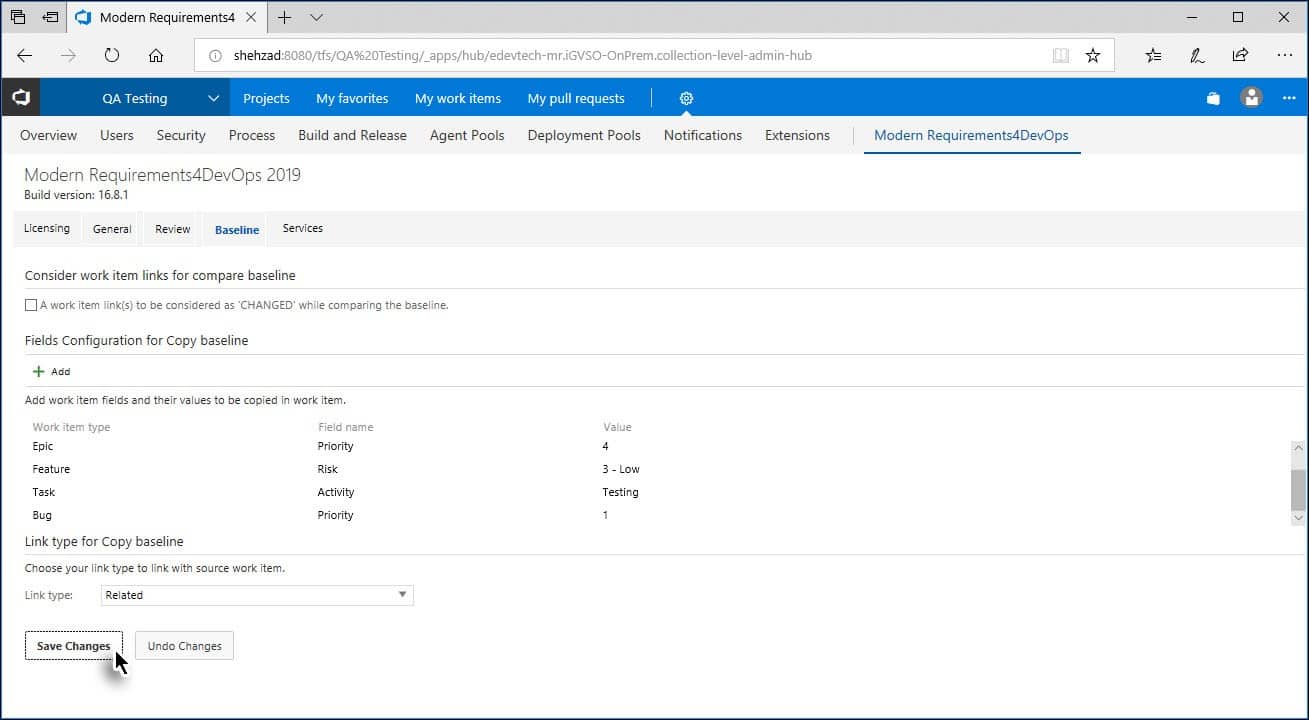
Users can configure which type of relationship should exist between the source and target work items using the following steps:
- Access the Admin panel and select the Baseline option.
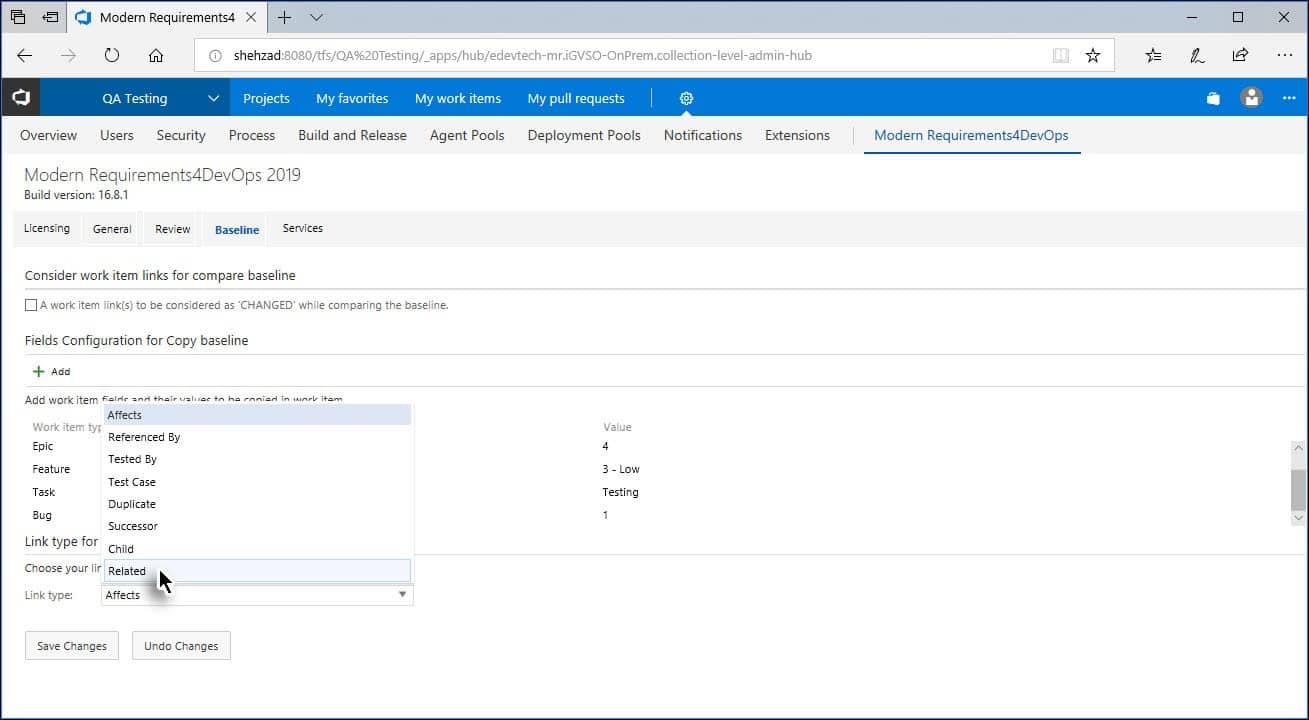
- At the bottom of the page click the Link type drop-down control.
- Select the desired relation type from the list.
- Click Save Changes.