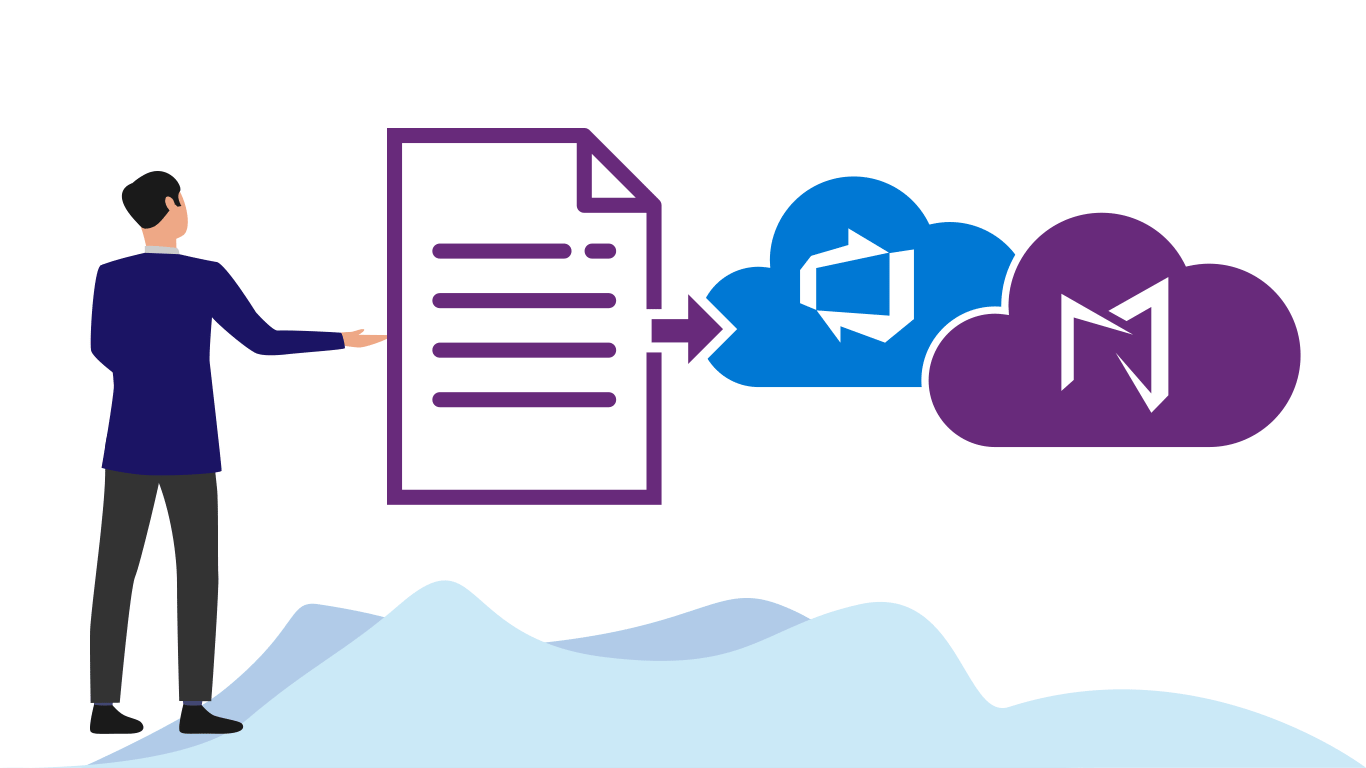
Participate in Requirements Authoring Using Email Monitor

Participate in Requirements Authoring Using Email Monitor

The Email Monitor feature provides access to creating Work Items in your Azure DevOps project through a medium that that is not native to Azure DevOps. That is, it allows you to communicate with your project via email. Teams often encounter situations where they are emailing about requirements, change request or bugs that should be created, and often they are able to use emails to drive towards a conclusive requirement that should be added into their project.

With the Email Monitor feature your team can now turn this external communication into a Work Item directly.

For use cases and the configuration process of Email Monitor, please watch the video.


You can access the configuration page of Email Monitor by going to the Collection/Admin settings – Modern Requirement4DevOps Extension – Services – Email Monitor.

By enabling the Email Monitor feature in the Modern Requirements4DevOps extension panel, you can specify a Monitor Email address that can intercept and create any work item that are emailed to it. Since the system will try to capture every email sent to the Monitor Email, it is a good idea to use your Monitor Email solely for the purpose the Email Monitor.

You are also required to provide an Admin Email address just in case when the system could not recognize the emails and a notification email will be sent to the Admin Email.

You can specify what WorkItem Types you want to create in your project from those captured emails.

Titles of the emails sent to the Monitor Email will always be mapped into the titles of Work Items to be created.

Team Project (Default) allows you to choose a default project where you want to add the Work Items to.

Add on Creation and Add on Update help you configure when you want to add the requirement to the project.

For the Description Field:

If the Add on Creation is checked, it means the system will use the initial email to create a new work item and the email body will become the description of the created Work Item.

If Add on Update is checked, it means the existing description of the created Work Item will be overridden by future replies regarding the same Work Item.

For the History Field

If the Add on Creation is checked, it means the body of the initial email will be mapped to the Discussion section of the created work item.

If Add on Update is checked, then all back and forth replies regarding the same Work Item will be added to the Discussion section.

Sender Name, Sender Email, and Email Body allow you to set what content you want to add in associated Description or the Discussion section.

Use Case for Email Monitor Service

The most common use case for the Email Monitor feature is as follows:

I have a large organization and I would like all members of my organization to add any bugs they find in my software to my Azure DevOps project.

With Email Monitor fully configured with the bugs@myorganization.com, any relevant stakeholders can simply send an email to bugs@myorganization.com and I could specify that a Bug Work Item should be created in my project.

At the same time, the email that triggered the bug’s creation is also sent to the relevant people of that project. The relevant members can now participate in the discussion of that Work Item via email, and all email communications will be added to the Discussion properties of that Work Item within your project.

This unique feature allows people to contribute to your project’s success without needing to fully access your Azure DevOps project. External parties can now become part of the discussion about a Work Item, and does not require you to provide that person access to your project.

Some other scenarios you might be interested in

Adding Work Items to projects other than the default project

If sender does not specify a particular project name in the email body, the mapped email will be added to the default project. If senders want to add the requirement to another project under the same collection,  they will need to include [ProjectName=GCD] in the email body (GCD is a sample project name).

Multiple Work Item Types

We understand that your project stakeholders might want to add more than one types of Work Items by using Email Monitor. This can be achieved too! You can simply select multiple WorkItem Types.  For instance, now I select User Story in addition to Bug. When your team send emails to the monitor email box,  they can use [WIT=bug] or [WIT=user story] in the email body to specify which Work Item type the created requirement should be. Without specifying the Work Item type in the email body, the system will try to map the email to the Work Item type which falls into the Work Item category you have selected in the WI Category section.

Adding extra content to an existing Work Item

After the initial email was captured by the system, by default, all future replies can be added as discussions of same Work Item. In addition to that, senders can add [wiid=1997] (1997 is a sample Work Item ID) in the email body to add new content to the targeted existing Work Item.

Of course, you can use more than one of those special commands in an email based on your needs.

Time to Read: 20 minutes

Managing Suspicious Requirements with Automatic Flagging

Managing Suspicious Requirements with Automatic Flagging

Dirty Flag / Suspect Link is a component of MR Services (formerly called MR Agent) that is used to identify work items that might be affected by the changing of a linked work item so that relevant stakeholders may review the impacted work items. For example, if a user story changes in the active states, then the related test cases would be marked as suspect.
 
The Suspect Link feature contributes to your project’s success by making the impact of Work Item changes both query-able and, generally, more noticeable. You can consider this feature as one method of doing an impact assessment on changing work items within your project.

How does Dirty Flag / Suspect Link work?

This feature works by allowing you to monitor Work Items which meet certain preconditions. When these Work Items change, the monitor feature will mark any linked Work Items as suspect.

Let’s consider an example:

User Story 1 has just been moved to the ‘Completed’ state. If the Suspect Link can be configured to trigger a flag if any changes are made to user stories in a “Completed” state (i.e. a change to a field such as ‘Description’).

This means that if User Story 1’s Description field is changed in the future, it will flag all of the requirements that are linked to it with a Dirty Flag.

This allows your team to easily identify if a requirement that matches a certain set of criteria (which you specify) changes. Once identified, the configured work items directly linked will be flagged by the Dirty/Suspect.

To continue with our example, if User Story 1’s Description field changed, we could Dirty Flag all of the directly linked Test Cases that might need to be changed to test the new criteria changes.

The Dirty Flags that get set on those Test Cases would take the shape of a Work Item tag.

Tags show up in the Standard Work Item editor of Azure DevOps. You can also personalize the Column Options in the Work Items and Backlogs module to view a group of Work Items in which some may be marked by the Dirty Flag.

In the case of the Dirty Flag tag that is set on Work Items, the tag that is applied includes both the changed Work Item’s ID, and revision, so that your team can easily identify which requirement was it that changed and fired the Dirty Tag / Suspect Link functionality.

Dirty Flag tags could be manually removed when relevant stakeholders have reviewed the impact and made necessary updates. The best practices we recommend here is to add another comment explaining that now the Dirty Flag is removed due to necessary updates have been accomplished or no updates are required.  

For more details and the configuration process of Dirty Flag/Suspect Link, please watch the video.

 
Time to Read: 20 minutes

How to Make Your Requirement IDs More Descriptive and Distinctive Using Custom ID

How to Make Your Requirement IDs More Descriptive and Distinctive Using Custom ID

Modern Requirements4DevOps offers the functionality to add Custom ID’s to Work Items. The intent of this feature is to make a Work Item field more readable and recognizable. For example “PX-REQ-00001” for the first requirements work item in Project X.

Our Custom ID feature offers the same benefits alongside the added benefits of using the Custom ID in the Queries module.

Custom ID’s can be setup as a custom property that exists on each of your Work Items. The Custom IDs is not designed replace the work item ID, instead it complements it.

The Custom ID property offers an easy method of identifying several necessary information of a given Work Item all within one field. It also proves to be an incredibly useful tool for identifying a requirements source in cross-project queries.

By allowing you to consolidate the information into one field you make a Work Item more approachable to less involved users. The Custom ID capability adheres to the following guidelines:

Work Items can be assigned a unique code based on different Work Item types. For example, a Requirement Work Item type’s code could be REQ, a User story Work Item type’s code could be US, and a Bug Work Item type’s code could be BG.

You can create the starting number that your Work Item types will increment from thereafter. For example, you can dictate that User Story Custom ID numbering should start at 1 or 10000 and it will increment every User Story’s Custom ID by thereafter.

You can also add an optional project prefix for any Custom ID. For example, a project name such as “Project X” could have the prefix PX assigned to it.

Finally, you can choose to include the Scope of any Work Item. The ID number is not repeated in the scope; the scope can be Team, Project or Collection. Scope guarantees the custom ID will be unique within the scope.

Using the example covered in the above guideline, a Custom ID for the first (00001) Requirement Work Item in Project X would be “PX-REQ-00001” – which is a concatenation of the project prefix + Work Item type code + number.

For more details and the configuration process of Custom ID, please watch the video.

 
Time to Read: 20 minutes