This webinar explored how the AI requirements and work item management tool Copilot4DevOps has been enhanced to include new and improved features that empower your teams to work seamlessly and efficiently.
Continue readingused for blogs not in the top banner of blog page, and not in the branded section.
This webinar explored how the AI requirements and work item management tool Copilot4DevOps has been enhanced to include new and improved features that empower your teams to work seamlessly and efficiently.
Continue reading
Requirements elicitation is the process of understanding and documenting the needs of stakeholders. The rise of generative AI is creating an abundance of AI-driven requirements elicitation tools.
Continue reading
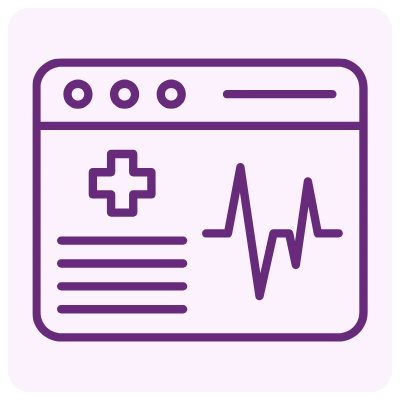
This blog post aims to educate professionals in the medical device industry about the critical role of requirements management in software development. It highlights challenges faced in the industry and presents the client’s requirements management product as a solution. The content emphasizes aligning software development with regulatory standards and efficient project management.
Continue reading
Modern Requirements held a webinar with Business Analysis and Project Management Coach Barbara Carkenord exploring how requirements management tools bring clarity to chaos.
Continue reading
Easily manage ISO 26262 compliance while accelerating development cycle
Continue reading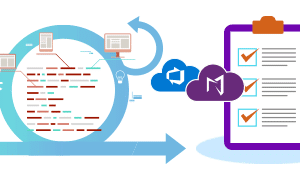
Modern Requirements, leading provider of Requirements Management software solutions, has been featured in a recent blog by Microsoft Azure titled “Get inspired: Five Microsoft partners using generative AI to enhance productivity.”
Continue reading
Highlight the advanced security features inherent in Copilot4DevOps, leveraging the robust data privacy policies of OpenAI and the data processing security of Microsoft’s Azure OpenAI Service.
The emphasis will be on safeguarding customer data, compliance, and secure AI integration.
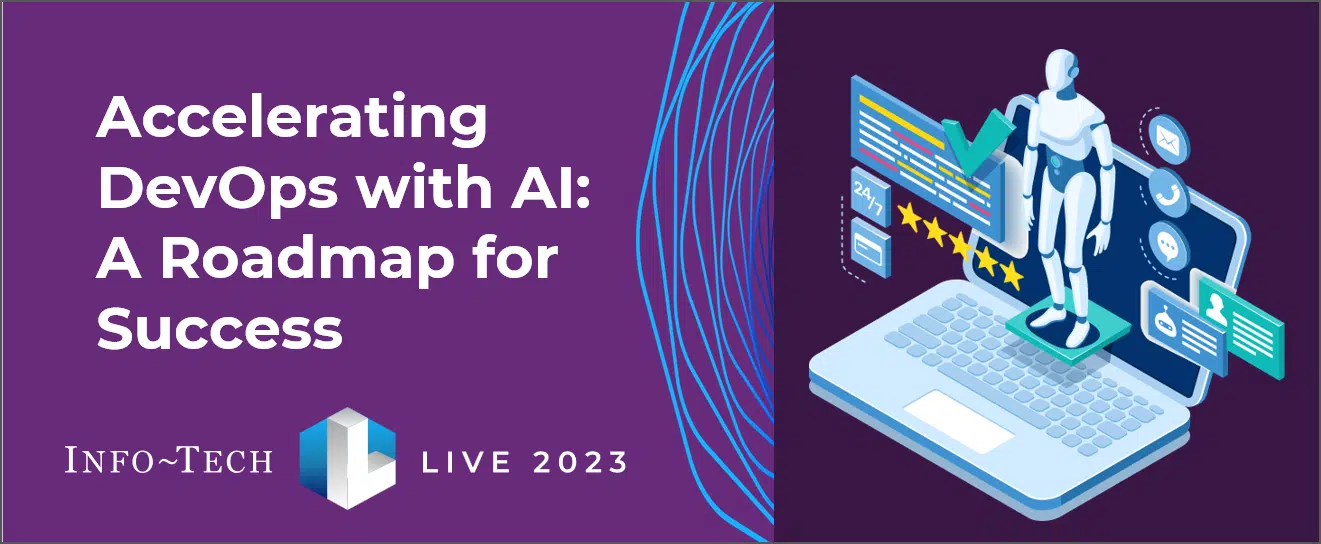
At LIVE 2023, an IT and Technology Leadership Conference hosted by the Info-Tech Research Group, Modern Requirements was invited to present a captivating session on Day 2 of the conference titled “Accelerating DevOps with AI: A Roadmap for Success.” Download the presentation and see the AI Requirements Management tool Copilot4DevOps in action here.
Continue reading
AI-driven requirements management is the practice of using AI tools to enhance the efficiency and quality of processes like elicitation, analysis, documentation, and writing.
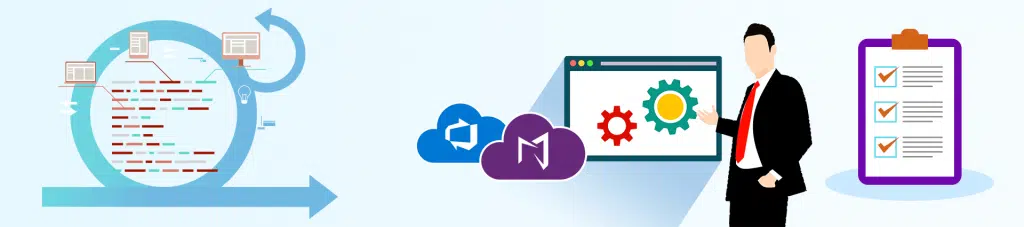
Continue readingEnd-to-end requirements management in Azure DevOps.

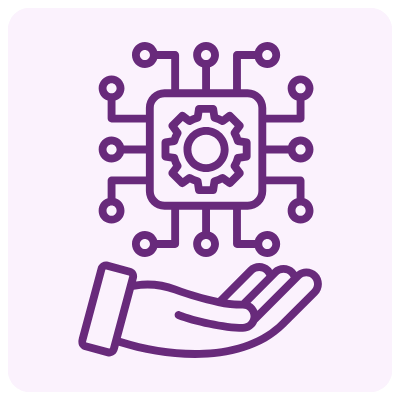
AI-powered assistance for DevOps workflows.

Autonomous AI agents for DevOps execution.

Real-time data sync across tools and systems.