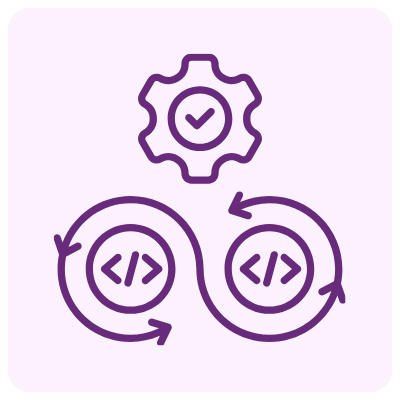
Variant management is the process of maintaining multiple versions of a product to meet diverse customer requirements.
Continue readingused for blogs not in the top banner of blog page, and not in the branded section.
Variant management is the process of maintaining multiple versions of a product to meet diverse customer requirements.
Continue reading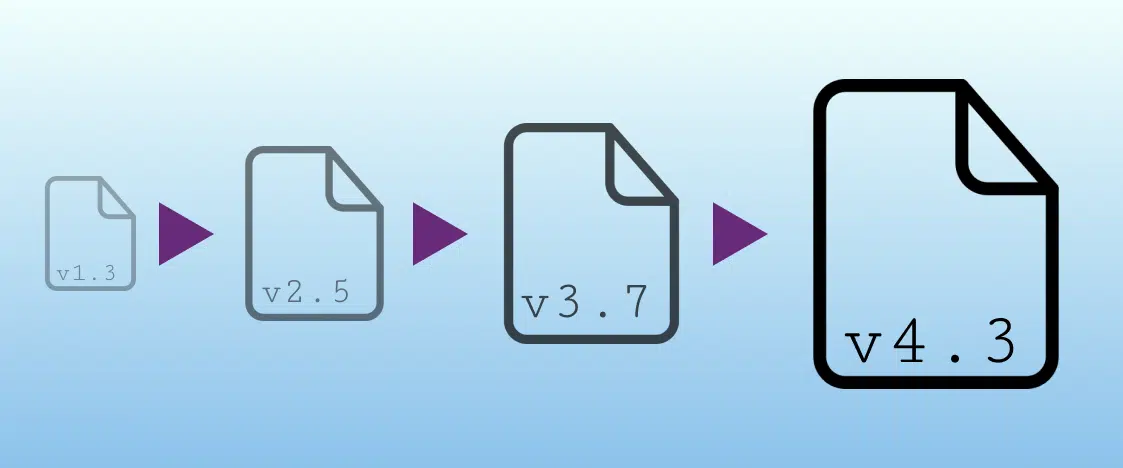
Learn about version control, its benefits, and best practices to maximize its benefits for DevOps teams with examples.
Continue reading
Discover the best practices for managing requirements in banking, financial, and insurance software development to get ahead of the competition.
Continue reading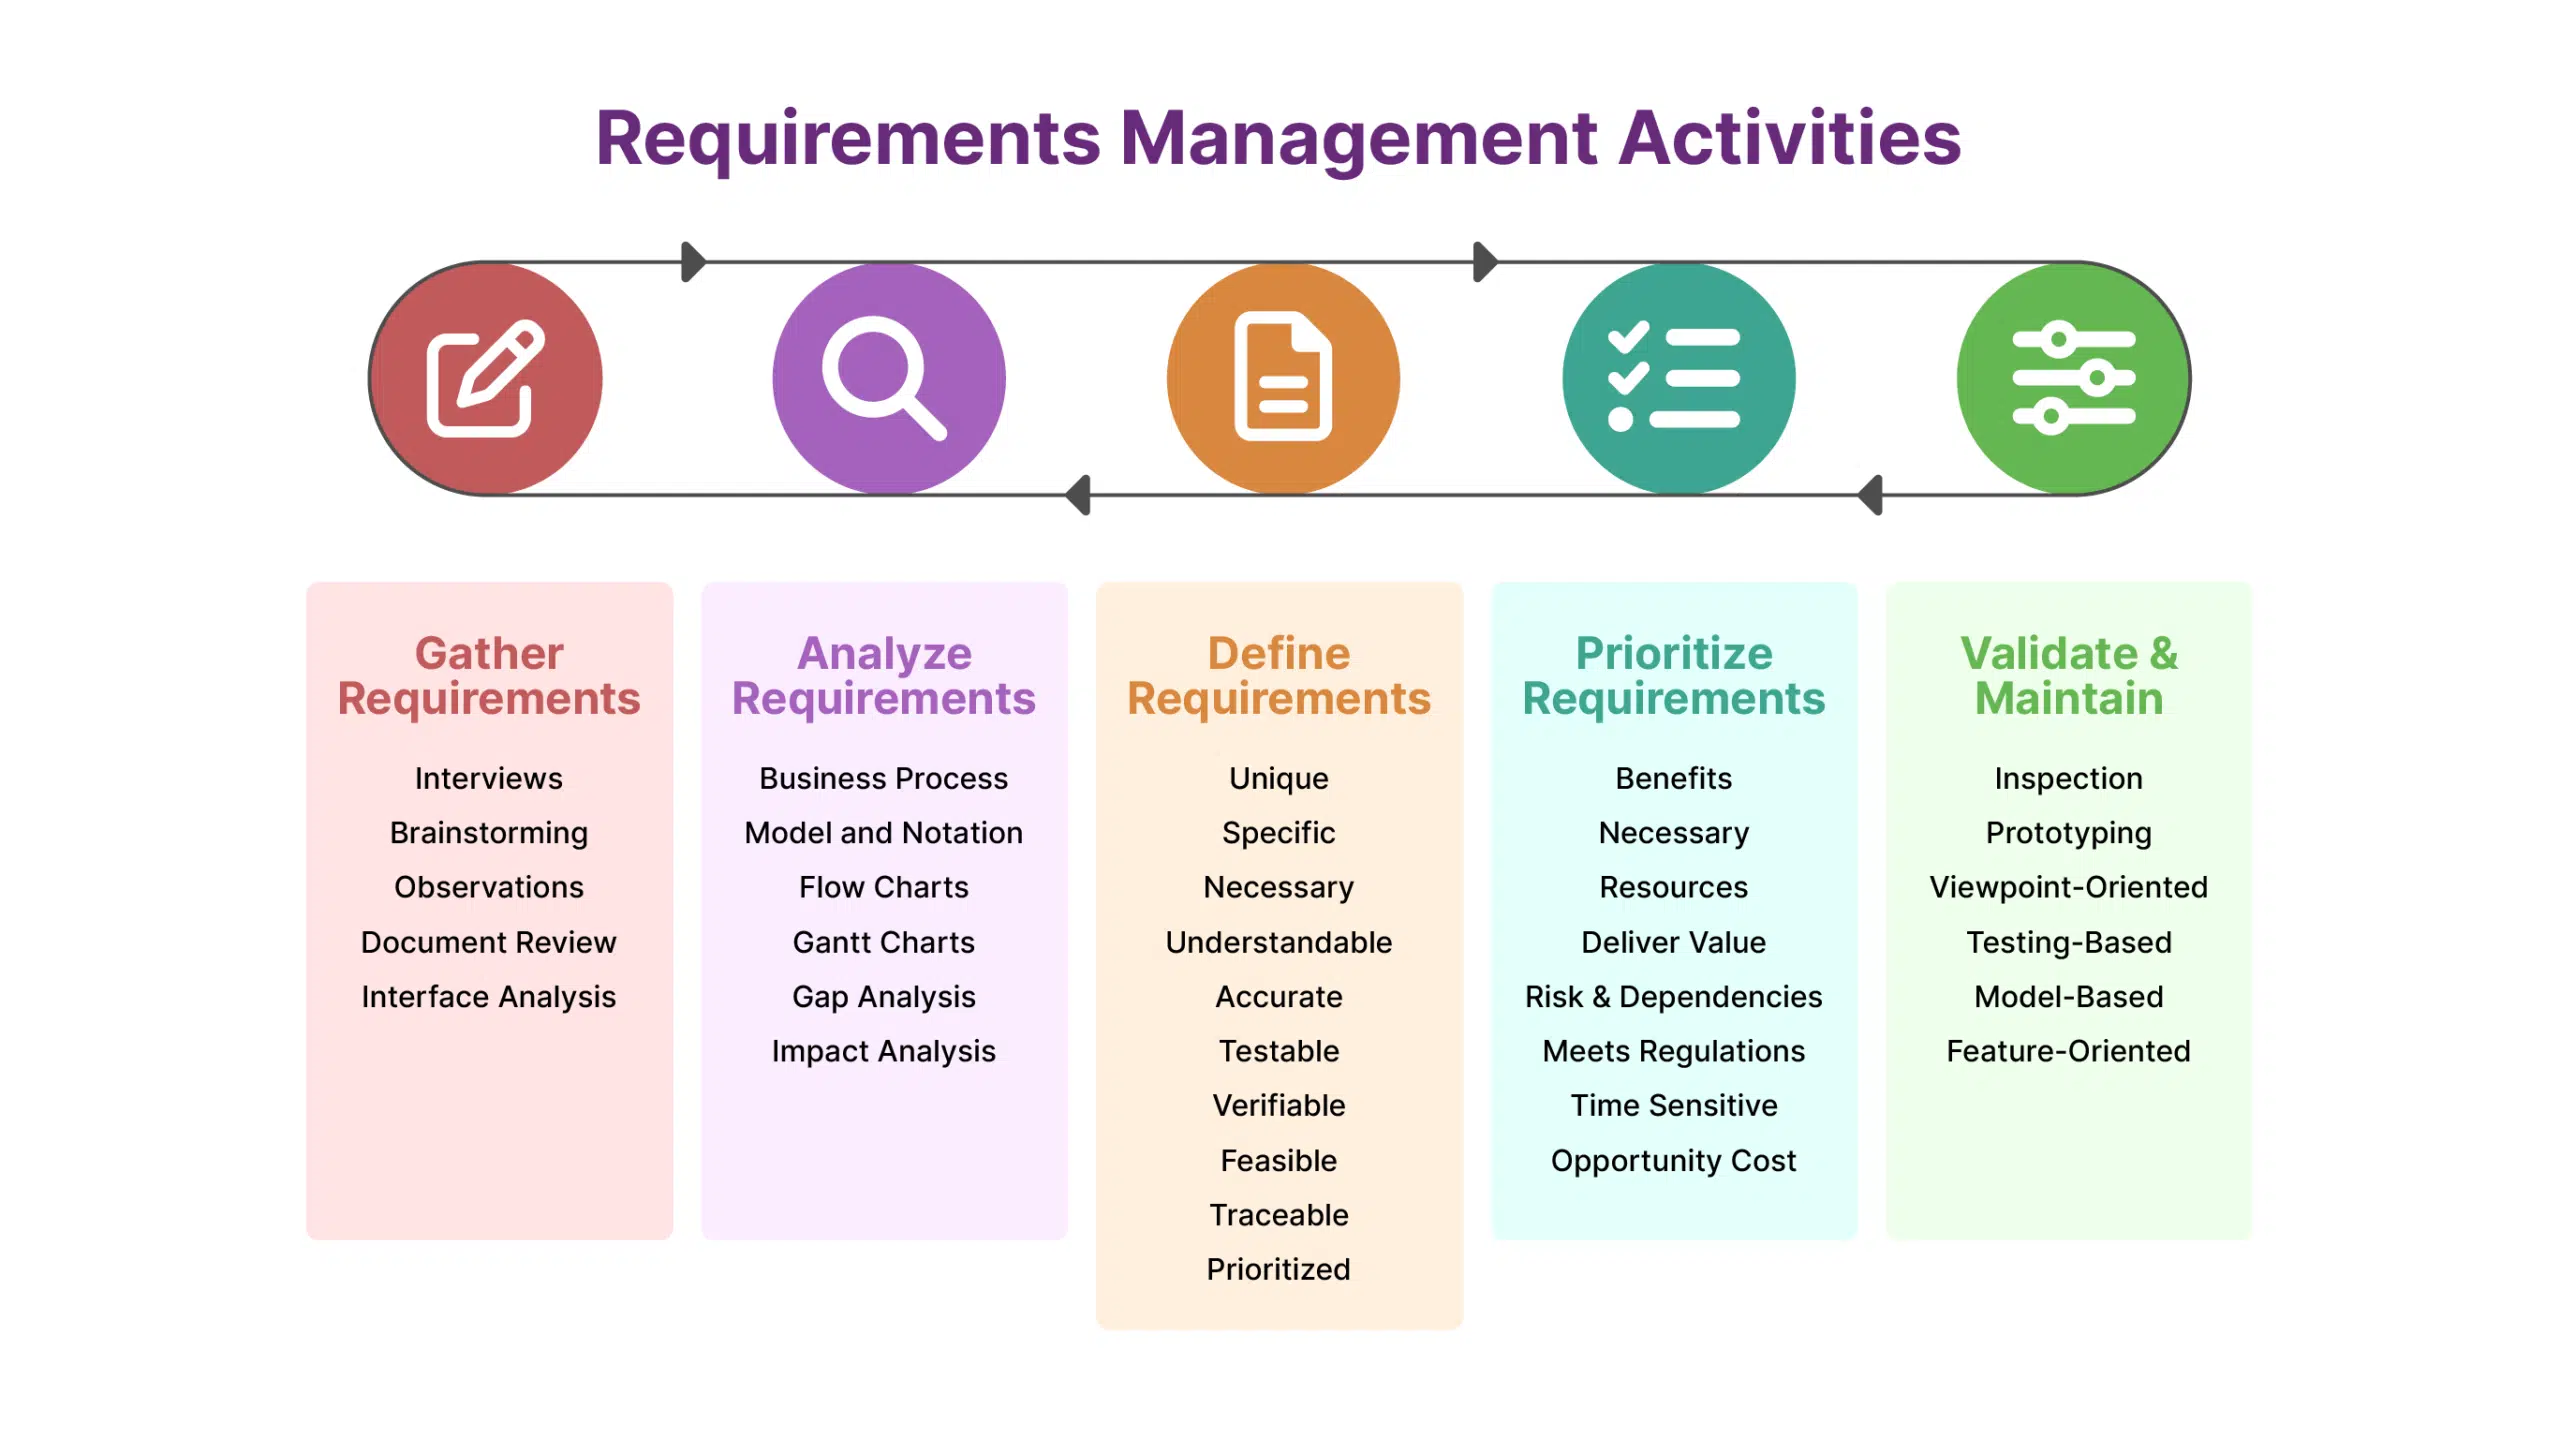
Discover the best practices for managing requireBanking and financial software development are now some of the most consequential industries on the planet. In the United States alone, the insurance and financial services industry is 7.78% of the total GDP – almost $2 trillion (about $6,200 per person in the US).ments in banking, financial, and insurance software development to get ahead of the competition.
Continue reading
This article covers AI’s impact in the car industry, its benefits, and a revolutionary new project management automation tool by Modern Requirements.
Continue reading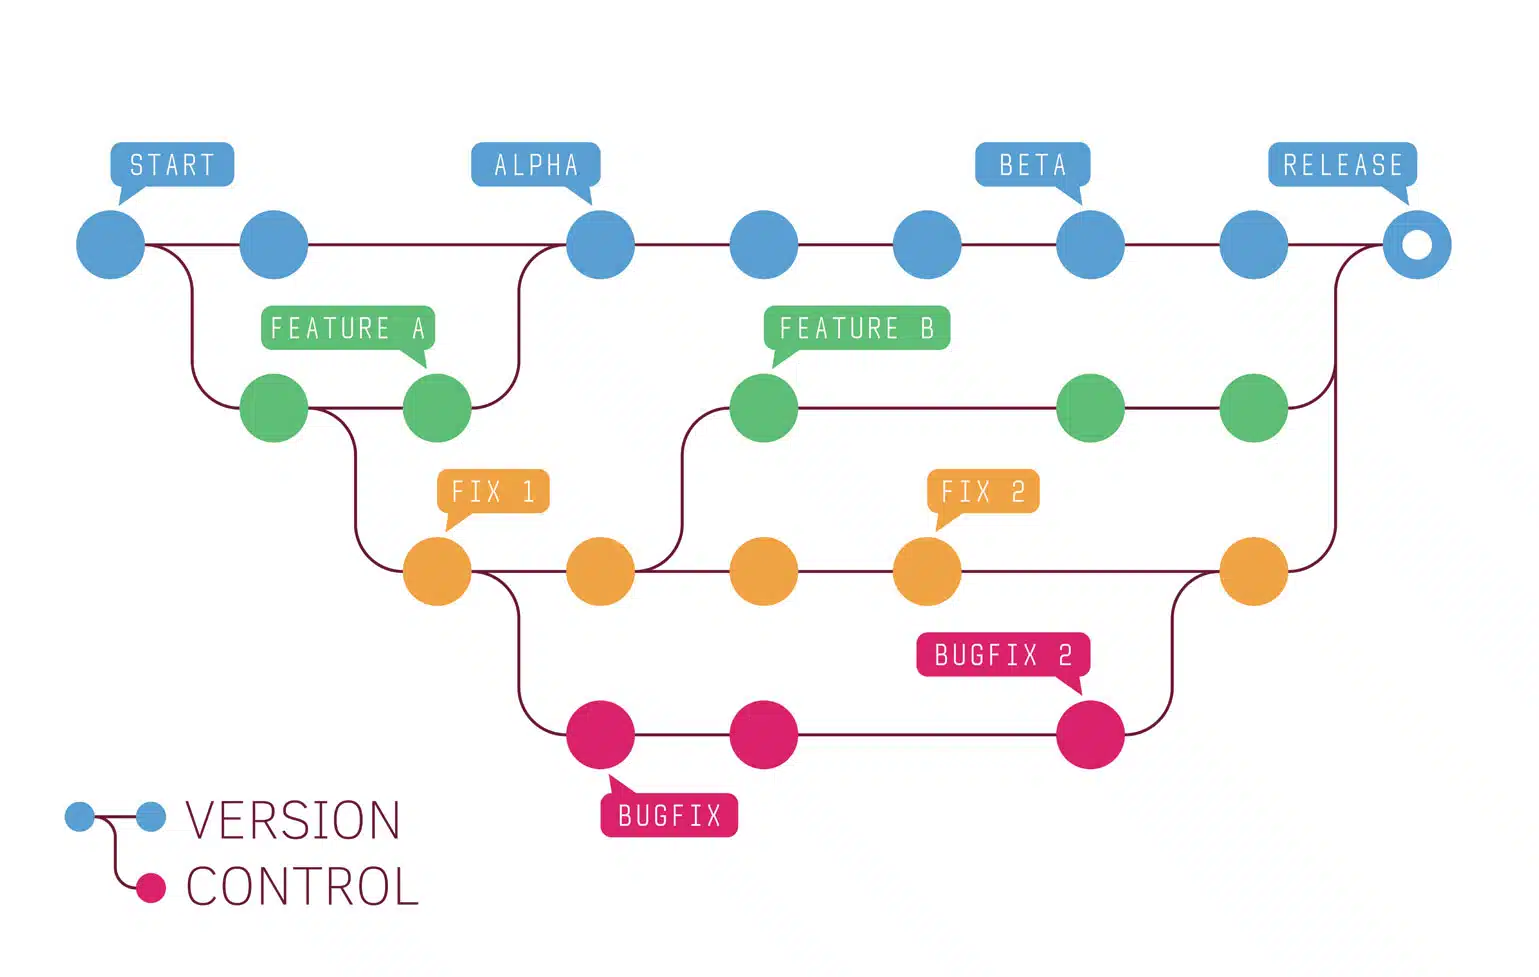
Improve efficiency and reduce costs with Variant Management and Version Package Management to guide the development of software and hardware products.
Continue reading
A project baseline is a documented starting point that establishes and measures a project’s performance metrics against earlier benchmarks. Baselines are a must-have for all teams to conduct meaningful performance measurements.
Continue reading
Today’s medical device companies are being challenged like never before. The market for medical devices is growing at approximately 5% compounded each year. KPMG, in a recent report, estimated that this market will reach about $800 billion dollars by 2030.
Continue reading
Modern Requirements’ Review Management tool allows users to provide approval via E-signature. This process is CFR- Part 11 compliant.
Continue reading
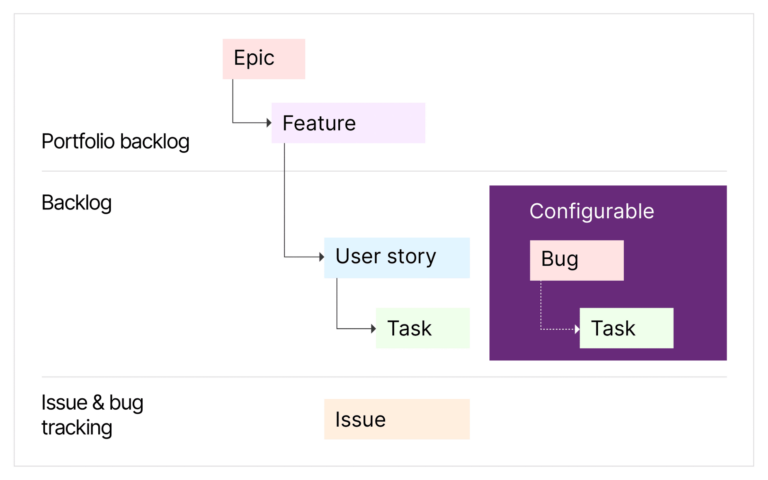
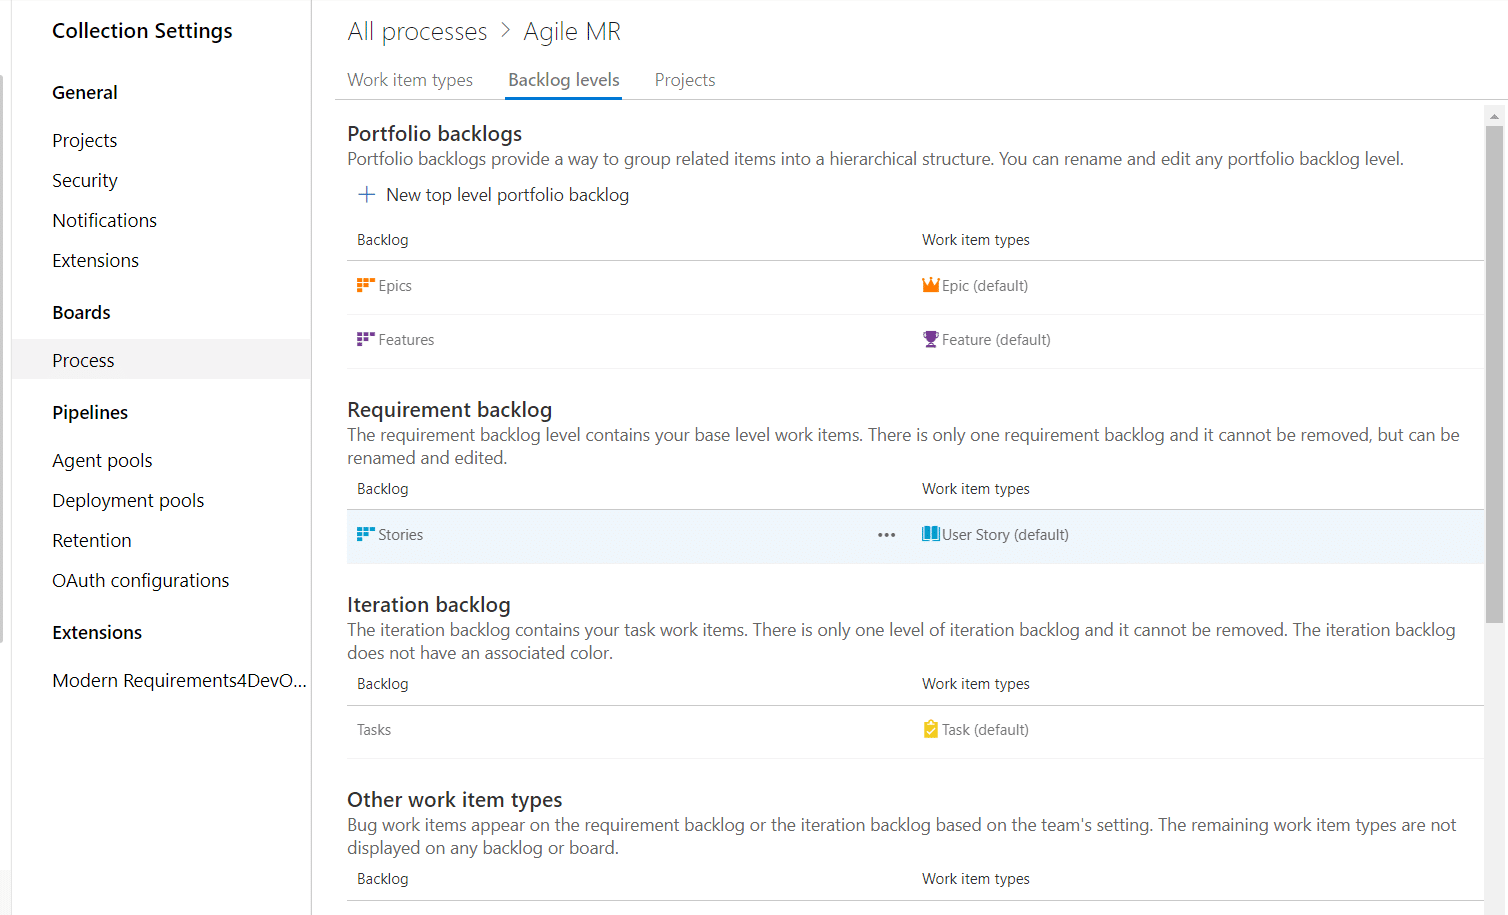

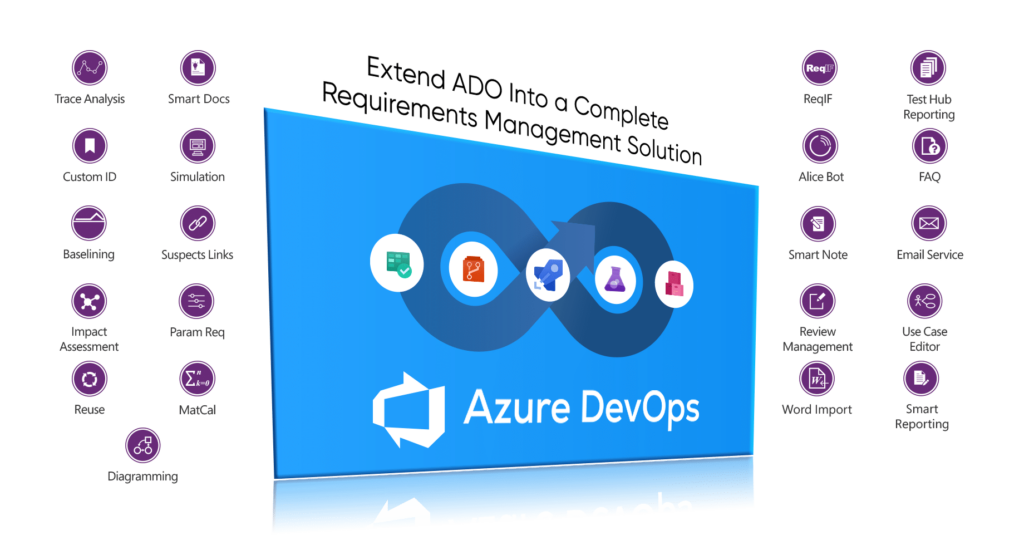
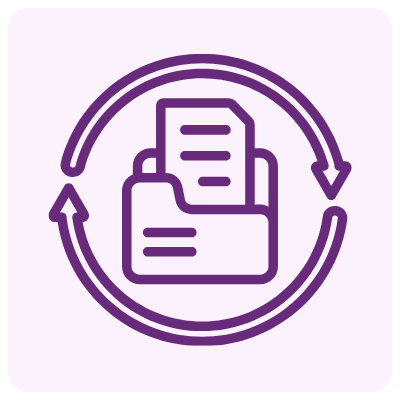
End-to-end requirements management in Azure DevOps.

AI-powered assistance for DevOps workflows.

Autonomous AI agents for DevOps execution.

Real-time data sync across tools and systems.