Explore top IBM DOORS alternatives, its weaknesses, how to select them, and learn how to transition effectively.
Continue readingUse this tag create “Top Blogs” on the main blog page.
Explore top IBM DOORS alternatives, its weaknesses, how to select them, and learn how to transition effectively.
Continue reading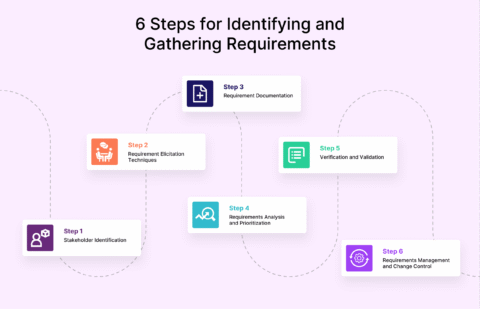
Learn how to create, measure, and categorize non-functional requirements (NFRs) for project success with real-life examples.
Continue reading
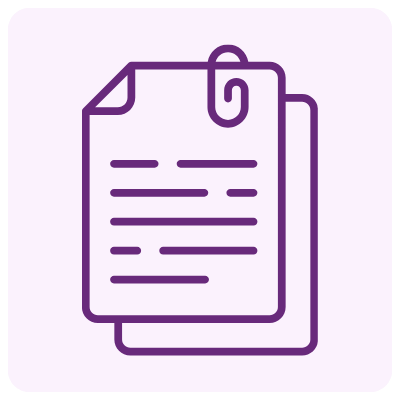
The Document Management System (DMS) feature of Modern Requirements4DevOps was created to simplify and optimize Azure DevOps document management. This system addresses common enterprise document management challenges like inefficient workflows, poor version control, and collaboration bottlenecks within your DevOps workflow.
Continue reading
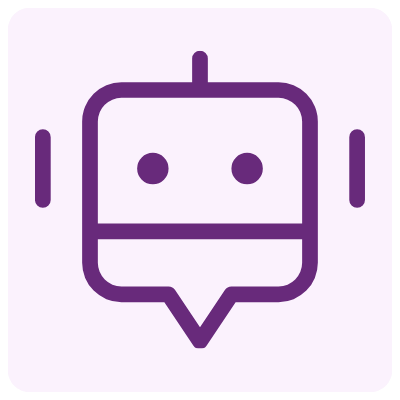
This blog reveals the latest innovation in AI DevOps with a tool from Modern Requirements called Copilot4DevOps Plus. Explore its groundbreaking features, including pseudocode generation, automated test script creation, and dynamic prompts. The blog delves into the security measures that Copilot4DevOps Plus inherits from OpenAI and Azure OpenAI, ensuring data privacy and exclusivity. You can now elevate your DevOps workflow with Copilot4DevOps Plus, the next level of AI-driven efficiency.
Continue reading
Requirements elicitation is the process of understanding and documenting the needs of stakeholders. The rise of generative AI is creating an abundance of AI-driven requirements elicitation tools.
Continue reading
Highlight the advanced security features inherent in Copilot4DevOps, leveraging the robust data privacy policies of OpenAI and the data processing security of Microsoft’s Azure OpenAI Service.
The emphasis will be on safeguarding customer data, compliance, and secure AI integration.
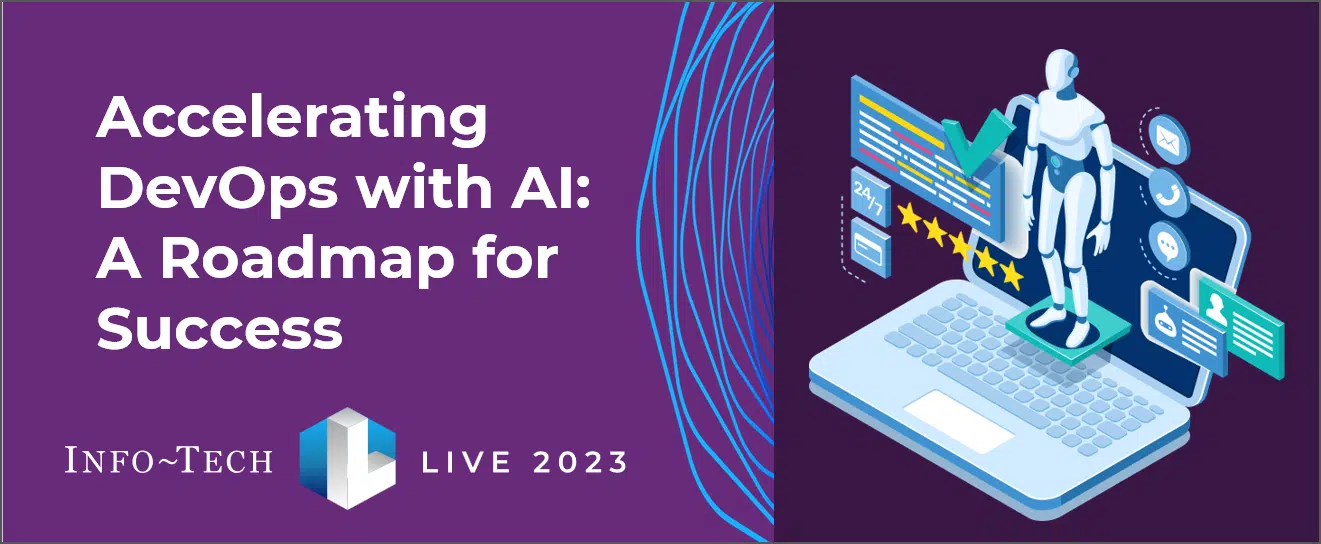
At LIVE 2023, an IT and Technology Leadership Conference hosted by the Info-Tech Research Group, Modern Requirements was invited to present a captivating session on Day 2 of the conference titled “Accelerating DevOps with AI: A Roadmap for Success.” Download the presentation and see the AI Requirements Management tool Copilot4DevOps in action here.
Continue reading
AI-driven requirements management is the practice of using AI tools to enhance the efficiency and quality of processes like elicitation, analysis, documentation, and writing.
Continue reading
Accelerate your company’s requirements management process with Copilot4DevOps, a ChatGPT powered requirements authoring assistant.
Continue readingEnd-to-end requirements management in Azure DevOps.

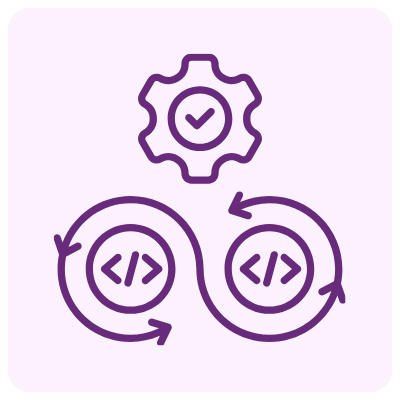
AI-powered assistance for DevOps workflows.

Autonomous AI agents for DevOps execution.

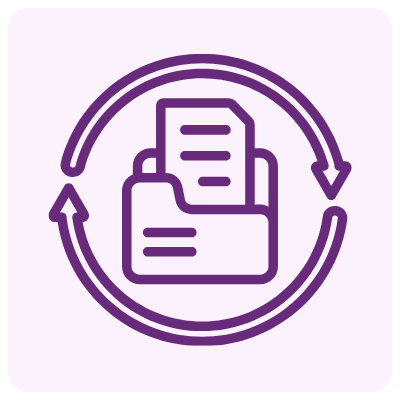
Real-time data sync across tools and systems.